

Sharpening software can sometimes take away the blur. But with Luminar Neo and Topaz Photo AI both offering powerful AI sharpening tools, choosing the right one can be challenging. We use a blurry, rocky arch to figure out what works here.
No, there will be no bird sharpening comparisons today!
Sharpening software companies frequently like to advertise how great they work with birds. And with the feathery plumes and eyes, it does give a lot for sharpening software to sense. But I was wondering how it would work with night photos where part of the image was out of focus. I did two comparisons: one with a sculpture of a velociraptor in Borrego Springs, CA, and another with an old photo of Mobius Arch in Alabama Hills, CA.
I used only RAW files for each of the two comparisons. However, both programs are capable of sharpening TIFF or JPG files.
For our attempt at comparison, I used Topaz Labs Photo AI 2.4.2, which is the second version of Photo AI, and Luminar Neo 1.18.3, which had been just updated prior to writing this article. I didn’t intend this to be a comparison. I was going to simply kick the tires with Photo AI. But, well, things happen. Right as I got ready to submit this article, Topaz released Photo AI 3. However, all comparisons are still valid.
At the end of this article, I will share some brief thoughts about the ethical nature of using AI sharpening software for certain genres of photography, such as photojournalism.
Using Topaz Photo AI V2: Velociraptor sculpture
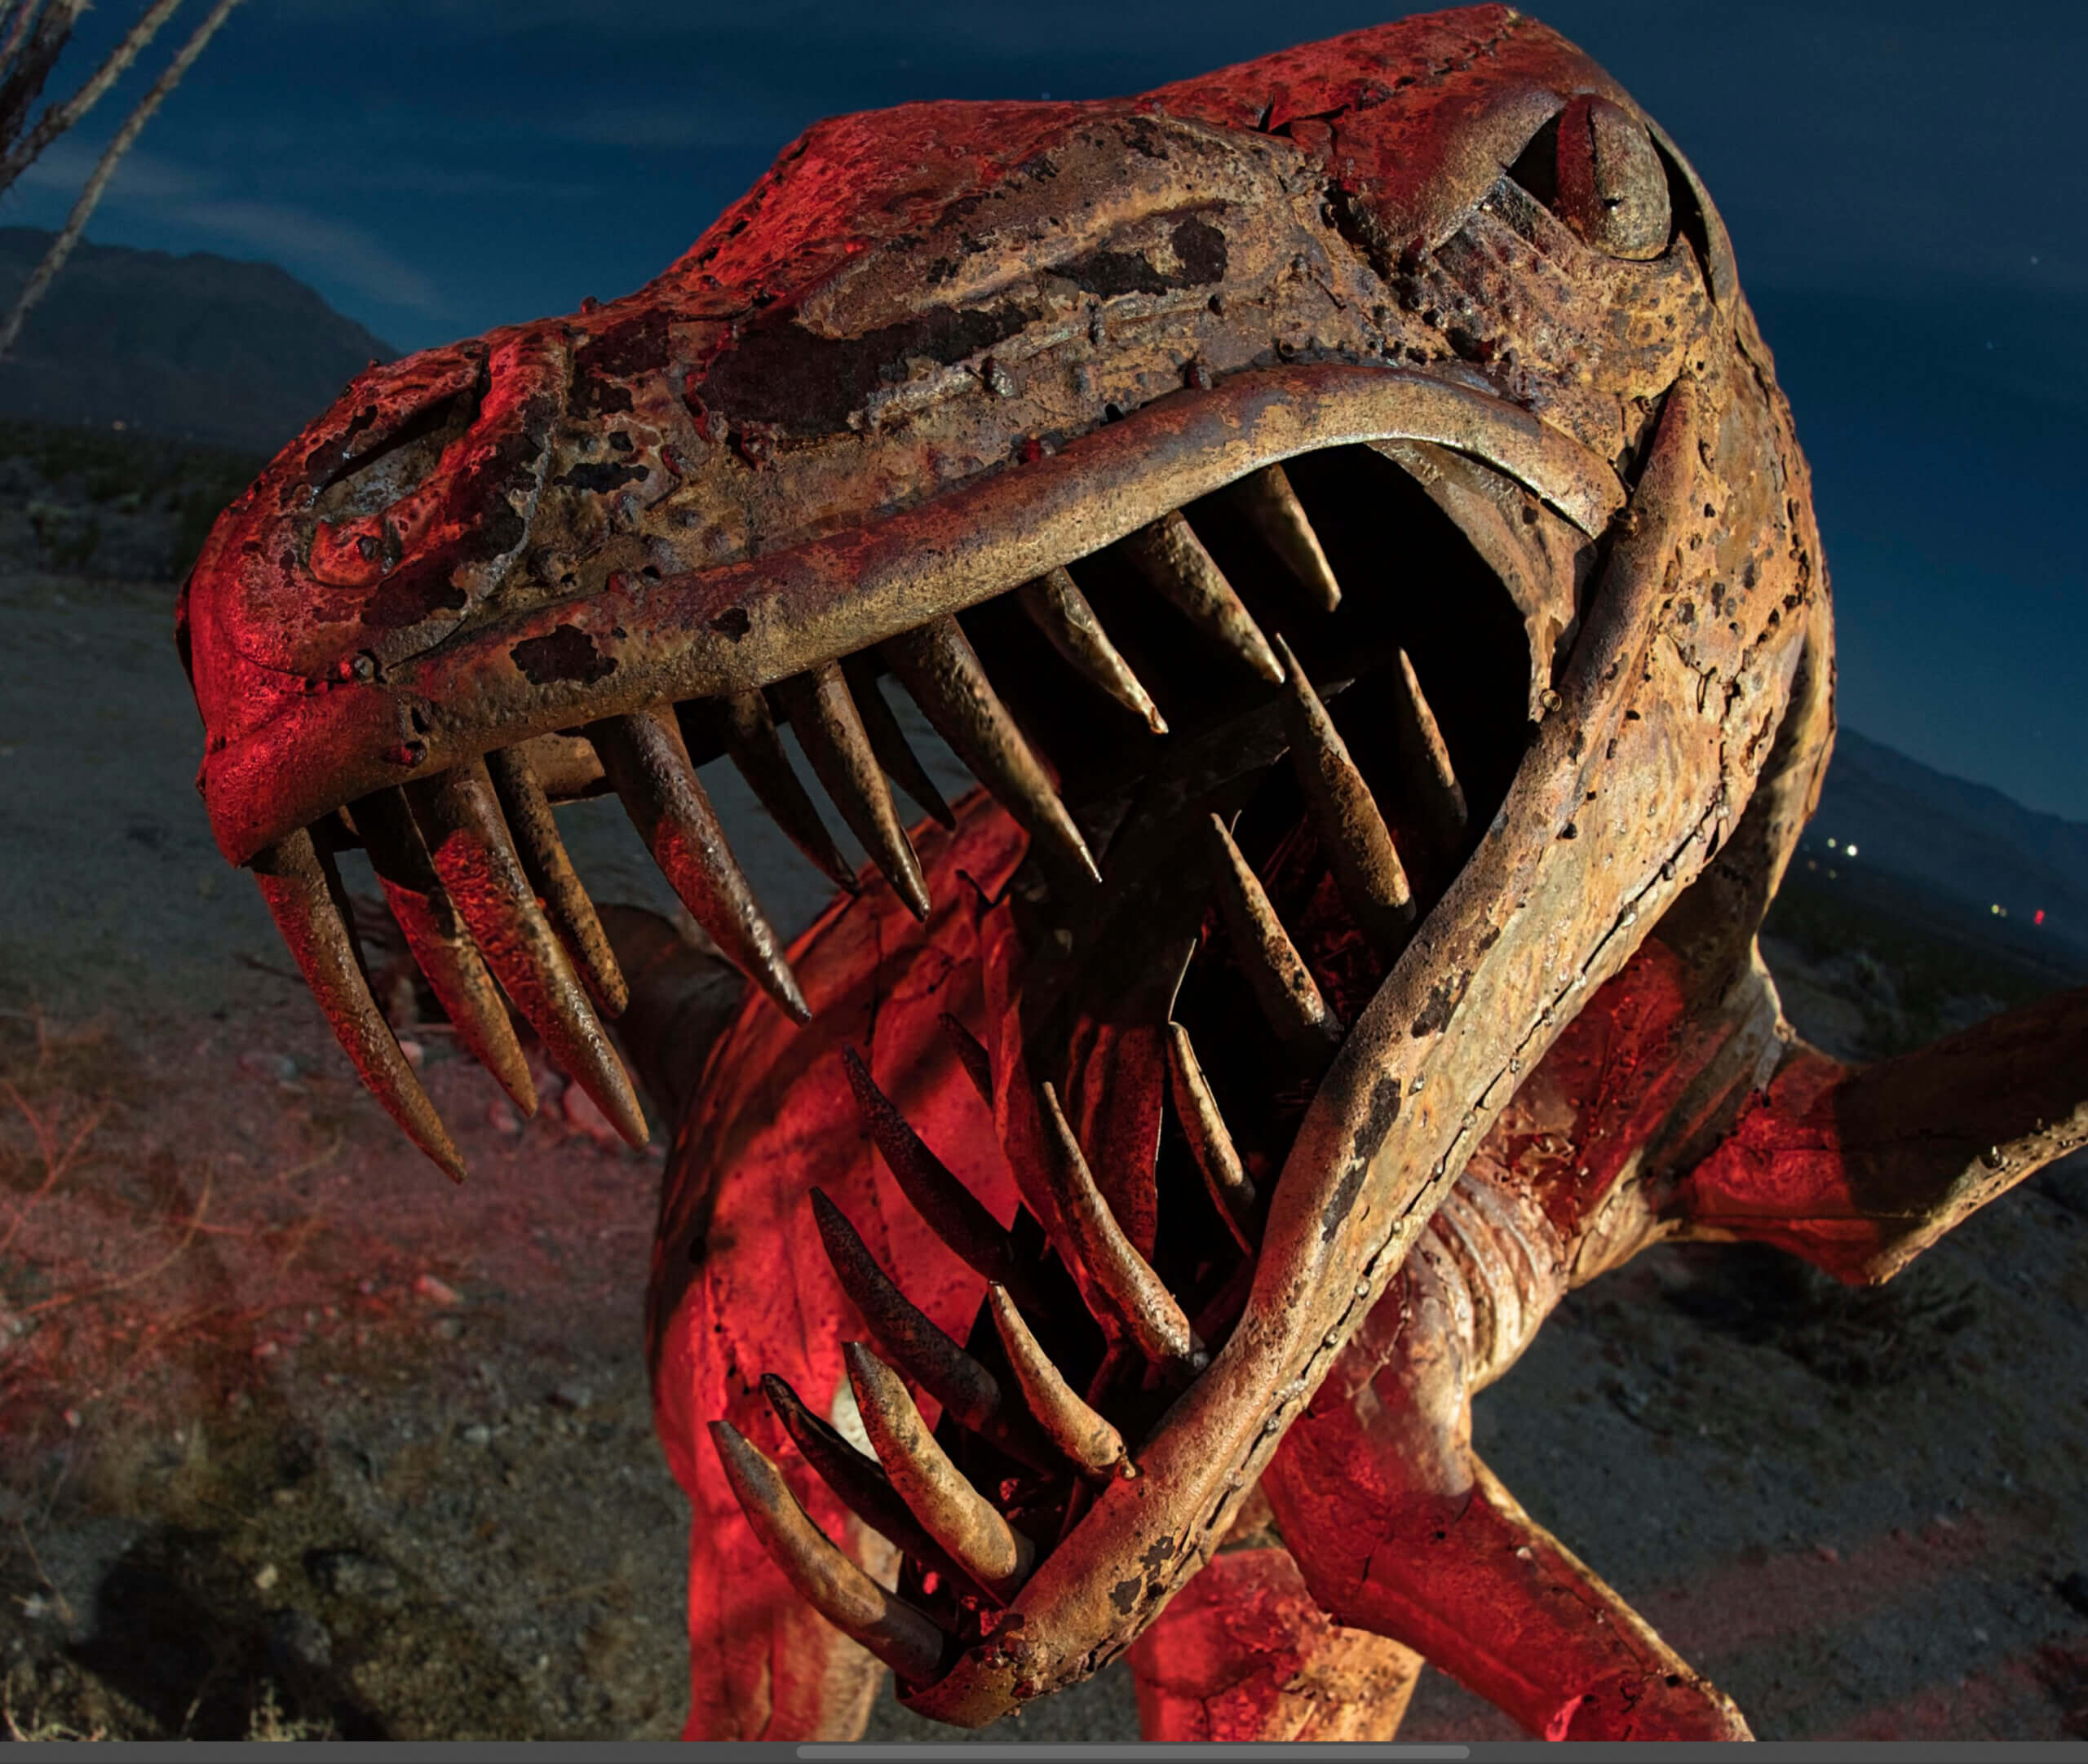
I first began with a velociraptor sculpture photo. I focused on the eye, and because I was so close to the sculpture, this left the snout a little out of focus.

Topaz Photo AI began using Autopilot to sense what the photo needed.

I went with the default setting from Autopilot because it looked good, and it was a reasonably medium setting. The default was Standard with a setting of Strength of 57 and Minor Deblur of 16.

Impressively, when I went to create a mask so I would only sharpen the sculpture, it was already done. This is great. If you are going to advertise that you are going to make things easier for photographers, this is the way to do it.
Luminar Neo: Velociraptor sculpture
Next up? Luminar Neo, using Supersharp.

Upon loading, I selected Supersharp, as it didn’t load this automatically a la some sort of Autopilot as Photo AI does.
Luminar Neo does not have a slider. I selected the medium strength for sharpening because I felt it would be closest to Photo AI. It put on a display of patterns moving back and forth, which at least tells you that it’s working on something. It takes a while for this to process, but once it does, everything works swiftly.
The Mask AI feature offered some choices, none of them, not surprisingly, a dinosaur. “Architecture” was the closest. I then used a brush to add to the rest of the mask so I would only sharpen the sculpture and nothing else.
Sharpening examples: Topaz Photo AI or Luminar Neo Supersharp — Velociraptor sculpture
Topaz Photo AI after sharpening: Velociraptor sculpture

Luminar Neo Supersharp after sharpening: Velociraptor sculpture

RAW file with no sharpening: Velociraptor sculpture

Results: Topaz Photo AI vs. Luminar Neo Supersharp — Velociraptor sculpture
Bearing in mind that I was using as close to medium settings as I could possibly get them, I would say that Topaz Photo AI gets the nod here, if for no other reason than it did it automatically, and made it as easy as it could possibly be to sharpen this. It actually did all the processing via Autopilot quicker than Luminar Neo did after selecting Supersharp. Also, the image was slightly sharper.
I am quite sure that if I fiddled with Luminar Neo Supersharp, I could get to address the blur as well as Photo AI. Perhaps simply using the strong selection might do it. But here, see for yourself. This time, I will also have high-resolution screenshots for you to look at as well in the hopes that you can decide for yourself.
Hey, one more comparison!
It’s very important to realize that sharpening software has different strengths and abilities. With that in mind, I thought I would try a single-exposure Milky Way photo from summer 2017.
The stars are beautifully sharp in this photo. The problem is that Mobius Arch is not. Why? I was a little too close to the arch for it to be regarded as “infinity” by the lens. Consequently, it’s a little blurry. It’s very challenging to determine whether something like this is perfectly in focus in the field. It’s dark, after all. But what I should have done was to examine it more carefully on my cameras LED screen. I could have then taken a second photo while focused on the arch, and blended them together.
Would either of these programs be able to rescue my mistake?
Using Topaz Photo AI V2: Mobius Arch

For this next comparison, I wanted to do two attempts at sharpening. For the first one, I selected “Standard,” also selecting a Strength of 50 and a Minor Denoise of 50. This would be the generally moderate setting, just to see how it would do. One of the aspects of AI photo processing that critics frequently overlook is the ability, just like with many other programs, of selecting the setting you want instead of going with an automatic setting.

Like before, Photo AI automatically selected a mask, this time automatically choosing “Subject.” It got most of Mobius Arch, as you can see.

As mentioned, I made two attempts at sharpening. This one was maxed out, using the Strong setting, and at a Strength of 100. We shall soon compare them to Luminar Neo’s attempts.
Using Luminar Neo: Mobius Arch

I selected two settings, just as I did with Photo AI. Here, the choices given were Medium and High. Since there are no sharpening adjustments other than that, I just went with it. Of course, I also tested its ability to mask easily.

Unlike Photo AI, you have to select a Mask unless you want it to sharpen the entire image. After clicking on “Mask AI”, Luminar Neo offered two settings, “Mountains and “Natural Ground”. “Mountains” worked better.
Sharpening examples: Topaz Photo AI or Luminar NEO Supersharp — Mobius Arch
Topaz Photo AI after sharpening: Mobius Arch


Luminar Neo Supersharp after sharpening: Mobius Arch

To try to compare photos to the sharpened ones from Photo AI, I made two different images, one sharpened on a medium setting (above), and one on a high setting (below).

RAW file with no sharpening: Mobius Arch

Results: Topaz Photo AI vs. Luminar Neo Supersharp — Mobius Arch
Here, the results were a little different from the dinosaur sculpture.
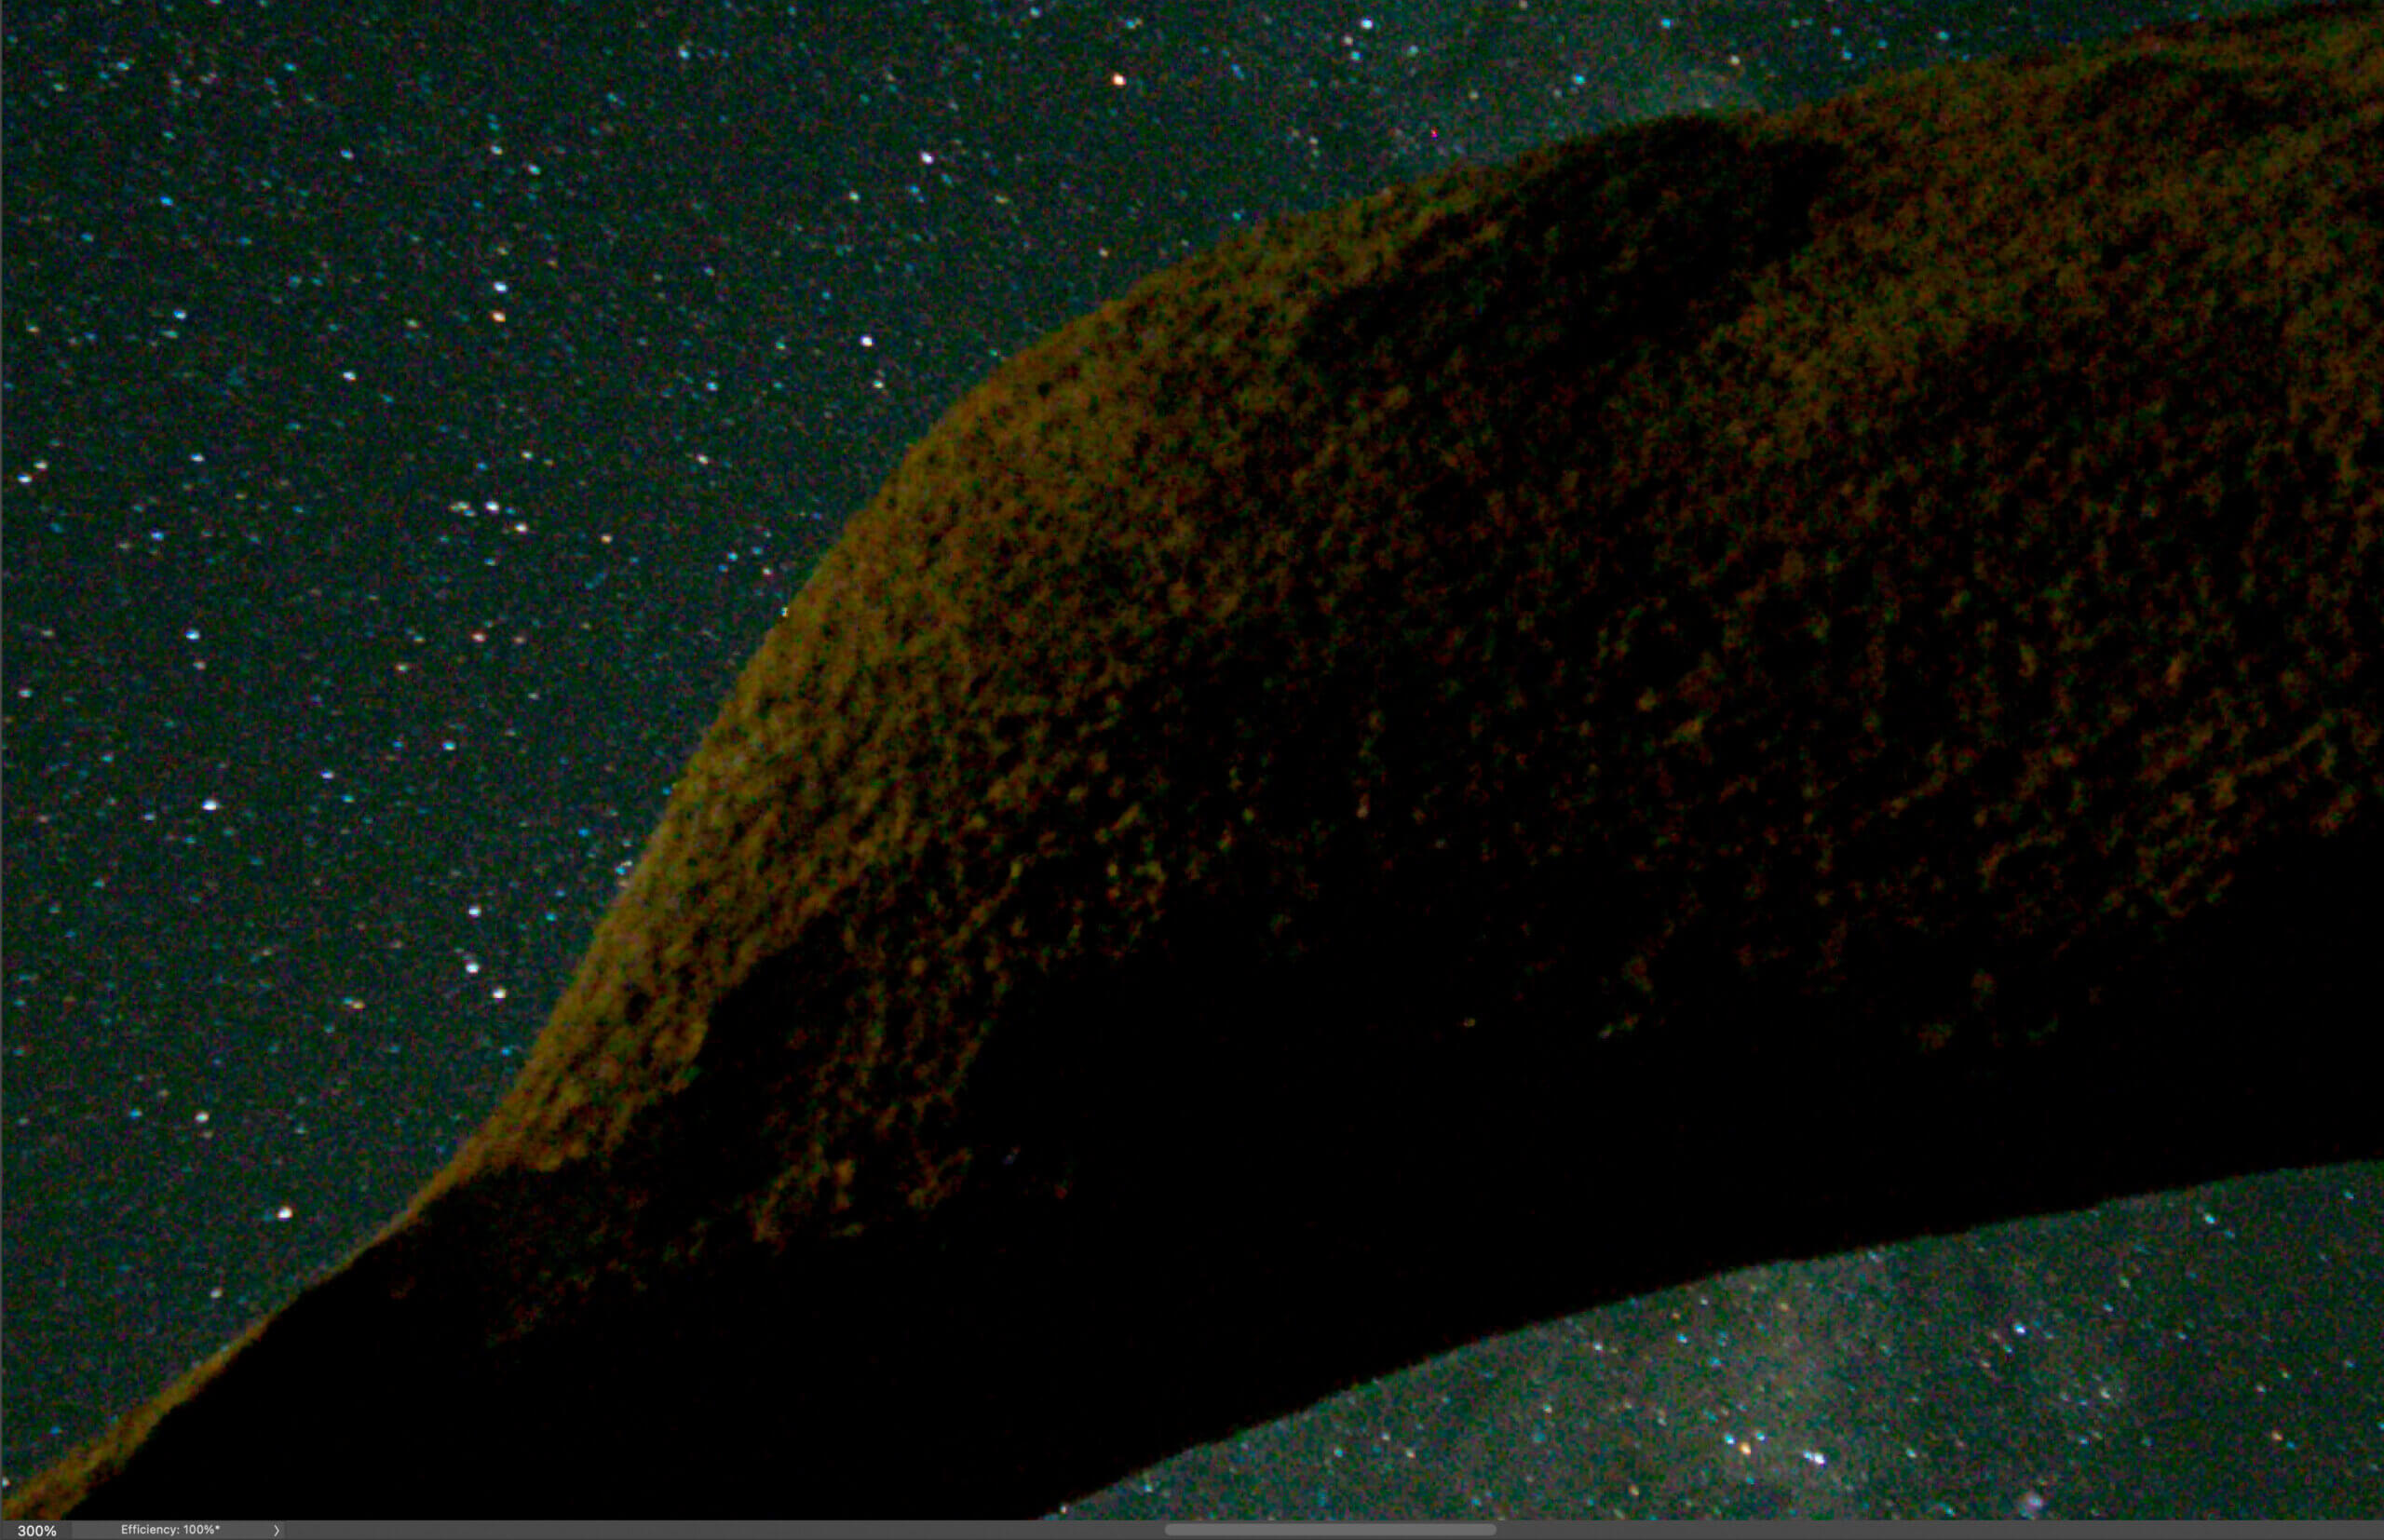
Comparisons of the medium sharpening settings: Topaz Photo AI vs. Luminar Neo Supersharp
At the medium settings, Photo AI produced sharper settings while still not having artifacts. However, it also made the sky much darker. This is particularly curious since I had masked the arch so I would only sharpen that.
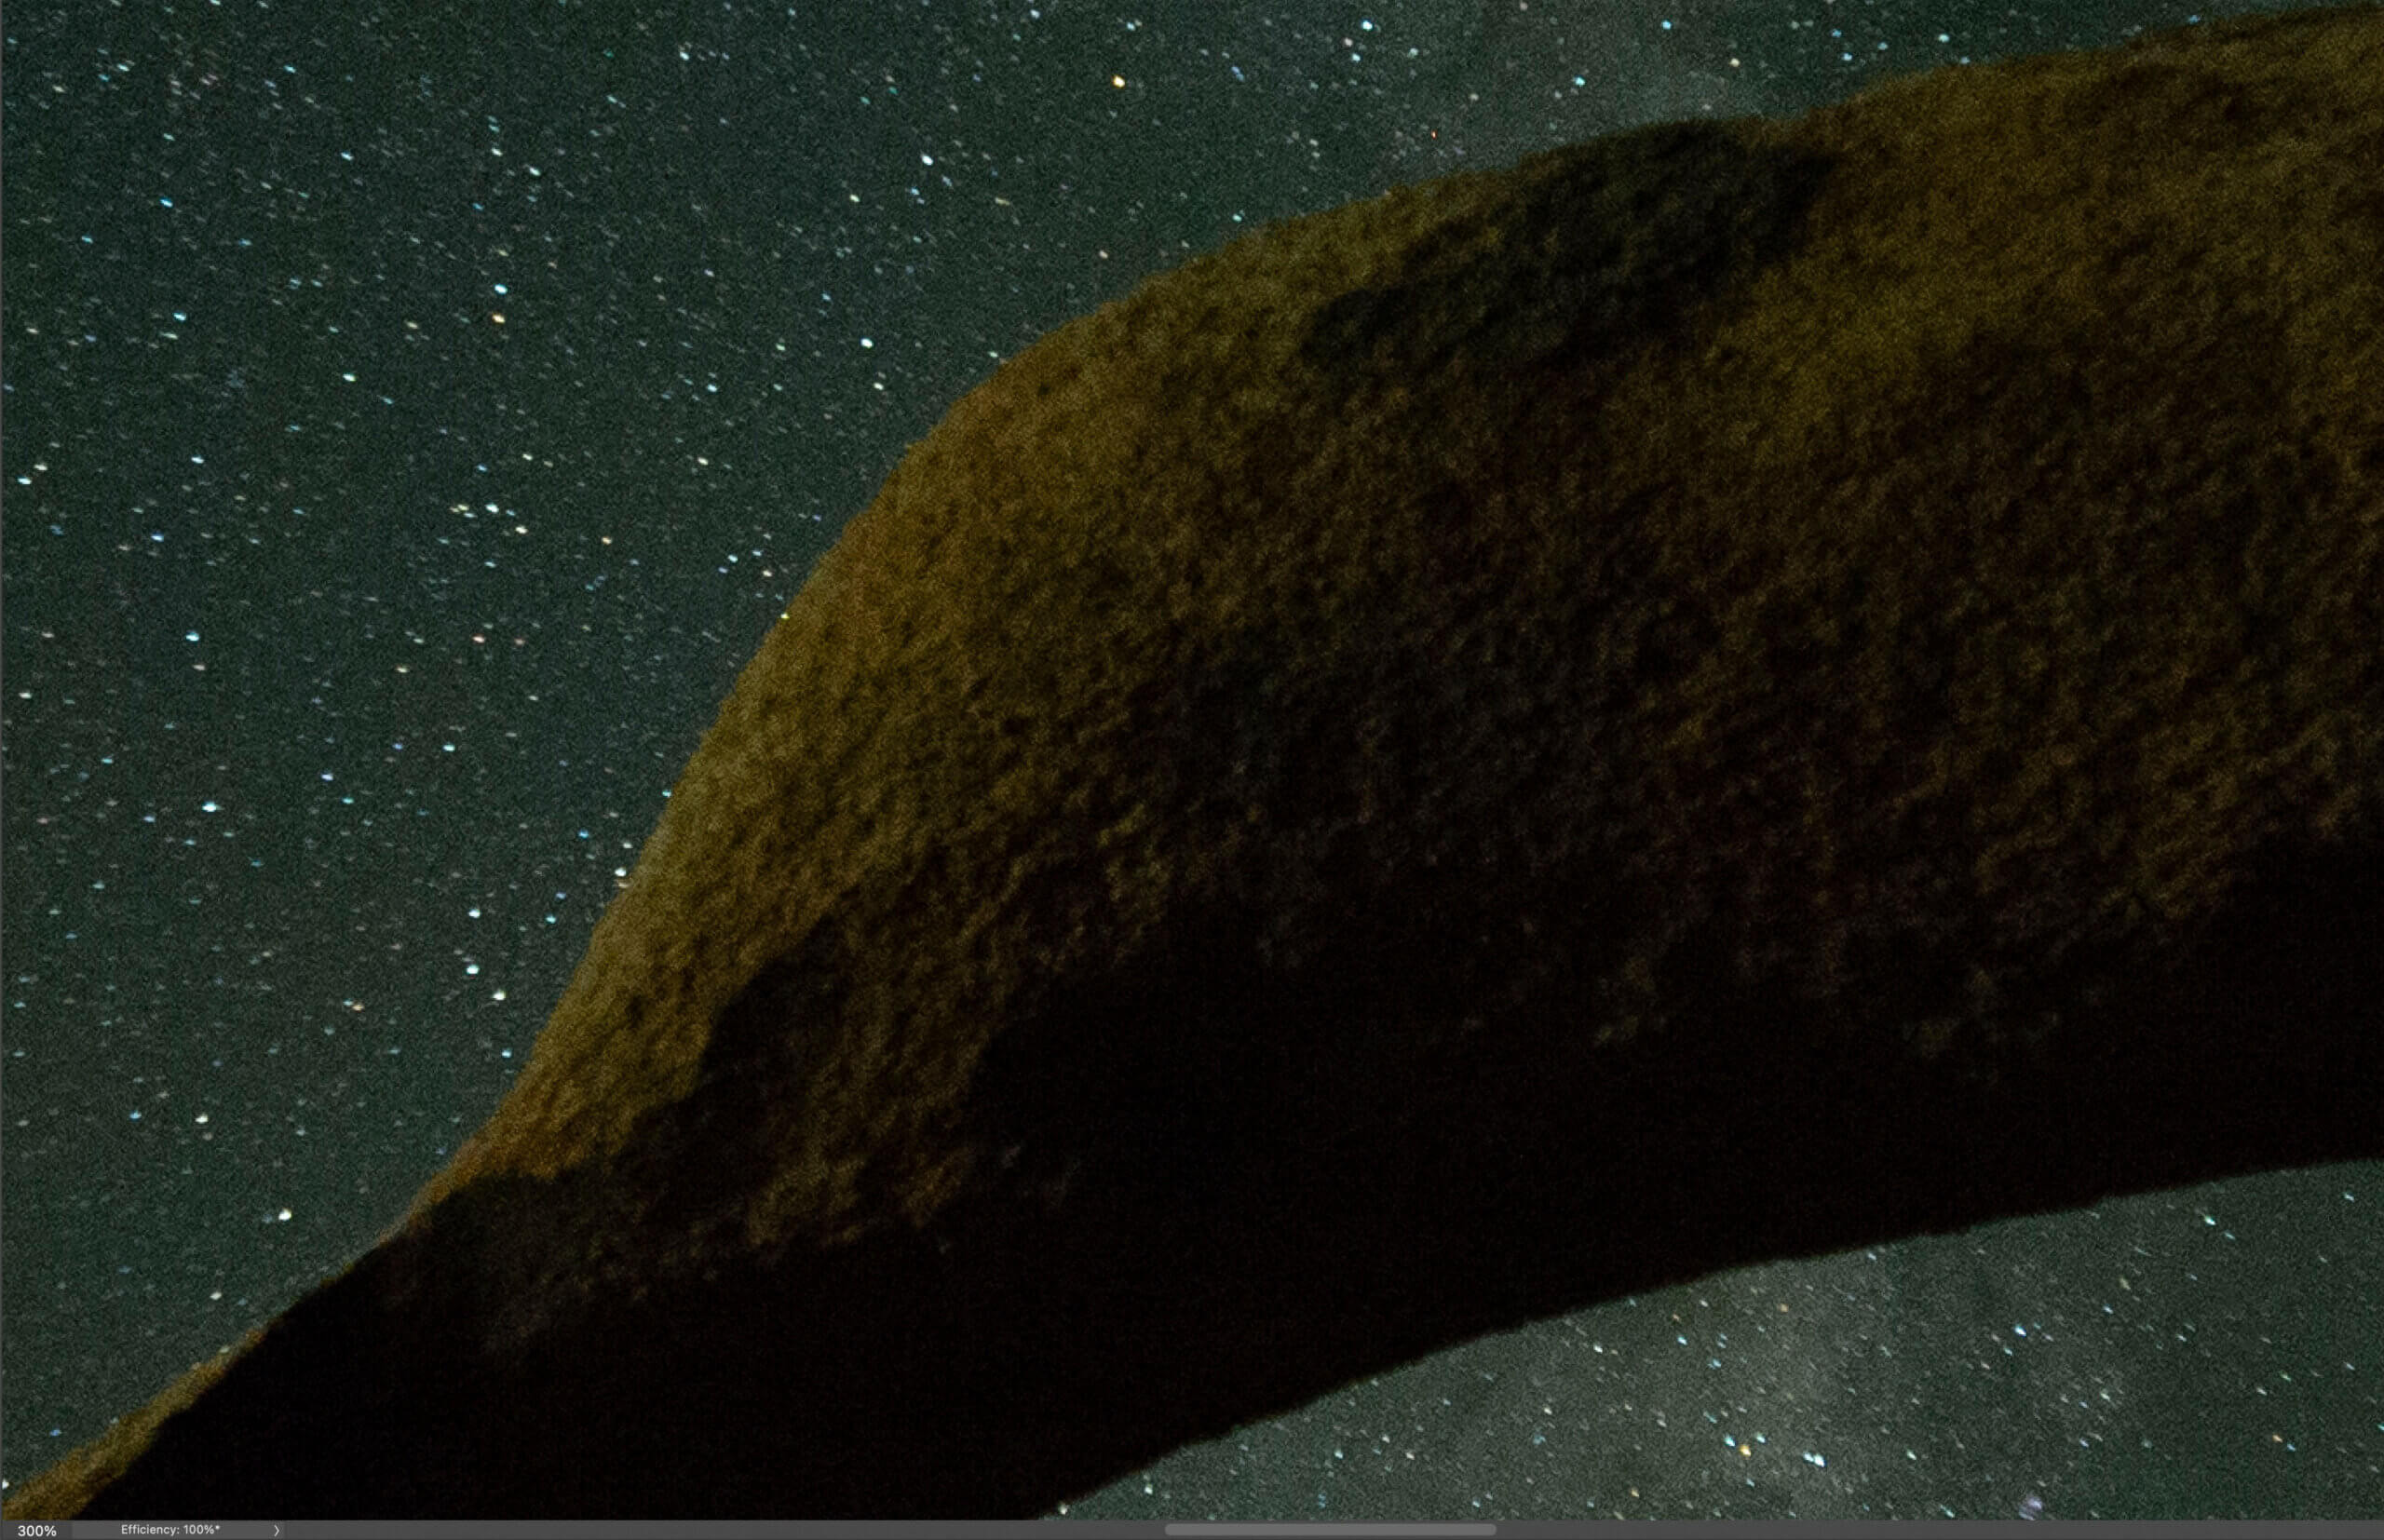
Comparisons of the strong sharpening settings: Topaz Photo AI vs. Luminar Neo Superharp
At the strong settings, Photo AI produced more detail without too many artifacts. Like the medium settings, it made the sky much darker. And this again with the same mask.
As mentioned before, Photo AI was considerably quicker at processing everything via Autopilot automatically upon loading. This includes applying denoising, and it also includes the mask for sharpening. If you like denoising and sharpening applied easily, Photo AI is pretty great. Luminar Neo, on the other hand, requires that you select SuperSharp, then takes a longer time after you select the amount of sharpening. Then if you want to apply an automatic mask, this also require more processing time. It’s a much slower process.
General comments
As you can see, depending on the type of photo and the subject, the results can be very different. If I just do one kind of photo, one software might consistently excel over the other. But when you select different kinds of photos, the choice is not so clear.
Topaz Photo AI 3.0 is here
As I was getting ready to submit this article, Topaz released Photo AI 3.0. 3.0’s new features include presets, flexible ordering of enhancements, panel docking & collapsing, enabling RAW color and lighting adjustments, and more. This new version includes the ability to adjust the color balance and lighting for RAW files as well as denoising. The presets allow you to create various filter combinations and settings. You now can reorder and combine enhancements in any order. But, as previously mentioned, the discussion and comparisons in this article (and the previous Photo AI V2 articles) are still relevant.
Is it ethical to use AI sharpening in genres such as photojournalism?
If you compare the sharpening in general to the RAW files, you’ll notice that the details aren’t identical. And you’ll notice that the details aren’t identical between each sharpening software either. The sharpening software with each of these programs is essentially making an educated guess, based on machine learning, as to what should go there. This approach is considerably more obvious with the Mobius Arch photo, which is why I chose this photo to share with you. There’s more “interpretation” with the texture of the rocks than there is with the better-defined sculpture of the dinosaur.
This raises potentially interesting questions. For instance, should a photojournalist take a photo for a magazine or newspaper, process it with an AI-based sharpening software program, and submit it to news agencies? Is it okay if the software has not changed the texture of the photo? While it certainly is vastly different compared to, say, using generative fill to add elements that were not there, is it still ethical?
When I had my photo in National Geographic Books, I had to submit my RAW file so they could verify that it was indeed a real photo. But not everyone has time to do this, and not everyone has time to pixel-peep all their photos when there are deadlines.
I use AI-based sharpening software, and it rarely changes the texture in a photo. But that’s because almost all my photos are already very sharp and well-defined. Here, though, the Mobius Arch photo is blurry enough that AI sharpening has altered the texture a bit. It’s not enough to get me to stop using it, but I do wonder about how this affects certain genres of photography. Also, I would also think that for photos expressly used for scientific research, you wouldn’t be able to use software like this at all.
Regardless, while it’s hardly perfect, sharpening software already works quite well. And the amazing part is that this technology is still in its infancy. As machine learning progresses, we will see incredible advances in this technology in the coming years.
What is your opinion on using AI sharpening software for genres such as photojournalism? What is your opinions on how well Topaz Photo AI V2 or Luminar Neo SuperSharp sharpen photos right now? Please leave your opinions in the comments!


