How to Install and Use Nessus Vulnerability Scanner on Debian 12
Nessus is an open-source network vulnerability scanner for vulnerability assessments, penetration testing, and ethical hacking. It uses the Common Vulnerabilities and Exposures (CVE) architecture and is one of the most comprehensive vulnerability scanners on the market. With Nessus, you can perform network vulnerability scanning, find misconfigurations and Denial of Service (Dos) vulnerabilities, and many more.
In this tutorial, we'll walk you through the Nessus Network Security Scanner installation on the Debian 12 server. You will also perform the first host scan with Nessus to detect security vulnerabilities against target hosts.
Prerequisites
To get started with this tutorial, make sure you have the following:
- A Debian 12 server.
- A non-root user with administrator privileges.
Installing Nessus vi DEB file
Nessus is a security vulnerability scanner developed by Tannable. It allows you to scan security vulnerabilities on various devices, applications, and operating systems. Nessus supports multiple Linux distributions, including Debian.
In this section, you will download and install Nessus via the DEB file.
Visit the Nessus download page and select the Nessus version. In this case, you'll download Nessus via curl for Debian, which supports Debian 10, 11, and 12.
curl --request GET \
--url 'https://www.tenable.com/downloads/api/v2/pages/nessus/files/Nessus-10.7.1-debian10_amd64.deb' \
--output 'Nessus-10.7.1-debian10_amd64.deb'
Once the download is complete, run the following command to install Nessus and fix dependencies if an error occurs.
sudo dpkg -i Nessus-10.7.1-debian10_amd64.deb
sudo apt install -f

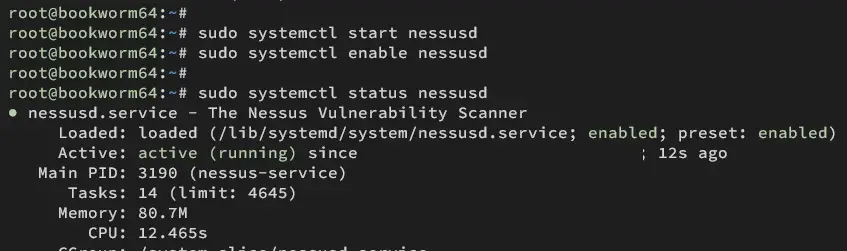
Now, start and enable nessusd service using the command below.
sudo systemctl start nessusd
sudo systemctl enable nessusd
Once started, verify nessusd service to ensure that the service is running.
sudo systemctl status nessusd
If Nessus running, you should get an output like the following:
Setting up UFW
After you have installed Nessus, you will configure UFW and open the default Nessus port 8834/tcp, which is by the Nessus web dashboard process.
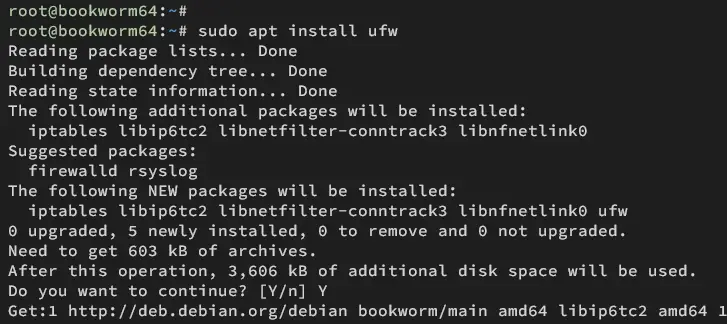
Install UFW to your Debian system with the command below. Type y to proceed with the installation.
sudo apt install ufw
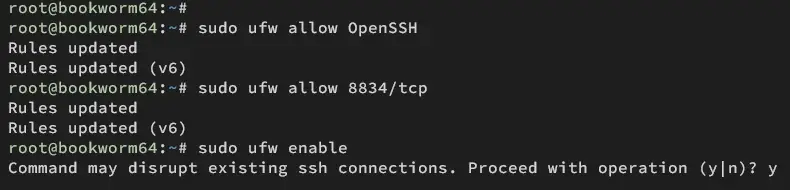
Now run the command below to enable the OpenSSH profile and add port 8834/tcp to UFW. The default Nessus port is 8834/tcp, where the web administration dashboard is running.
sudo ufw allow OpenSSH
sudo ufw allow 8834/tcp
Enable UFW using the command below. Then, type y to confirm when prompted.
sudo ufw enable
Once enabled, you will see an output 'Firewall is active and enabled on system startup'.
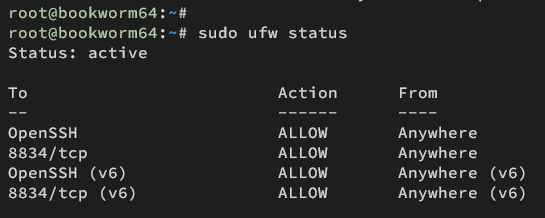
Lastly, verify UFW status and list rules using the following command.
sudo ufw status
Make sure the OpenSSH profile and port 8834/tcp are ALLOWED in UFW.
Setting up Nessus CLI
Nessus provides the nessuscli utility to manage Nessus from the terminal. Some utilities provided by Nessus are available at /opt/nessus/bin and /opt/nessus/sbin directories.
To make this easier, add both /opt/nessus/bin and /opt/nessus/sbin directories to the system PATH. This can be done via ~/.bashrc config file.
Run the command below to add /opt/nessus/bin and /opt/nessus/sbin to the system PATH environment variable via the ~/.bashrc file.
echo 'export PATH="$PATH:/opt/nessus/bin:/opt/nessus/sbin"' >> ~/.bashrc
Reload the ~/.bashrc file in the current session and verify the system PATH with the below command. Ensure both /opt/nessus/bin and /opt/nessus/sbin directories are added to the system PATH.
source ~/.bashrc
echo $PATH

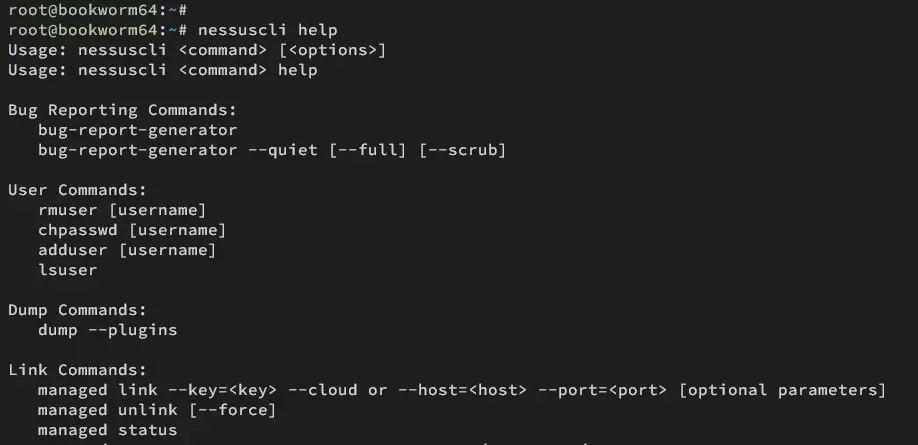
Lastly, run the nessuscli command below to verify your configuration. If successful, you should see the help message for the nessuscli.
nessuscli help
Configuring Nessus
Now that you have configured nessuscli, let's configure your Nessus installation via web browser. In this section, you will also register for the Nessus version and need an email address for that.
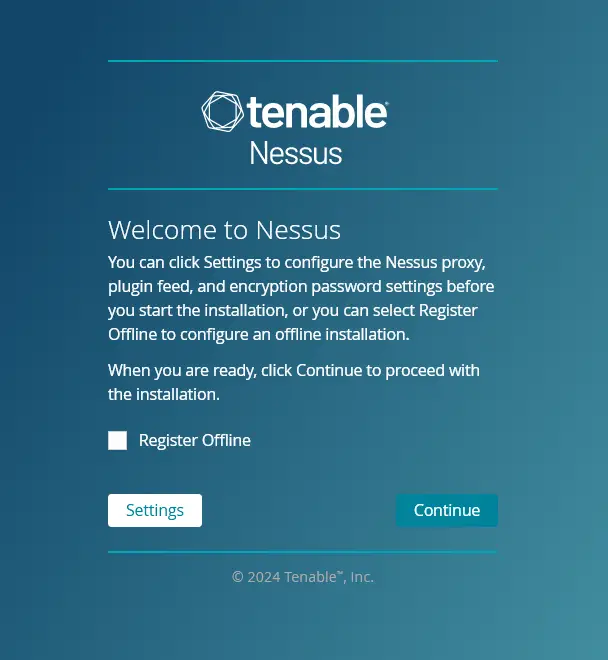
Open your web browser and visit https://192.168.5.15:8834/ to access the Nessus installation. You will see Nessus' welcome message.
Click Continue to start the configuration.
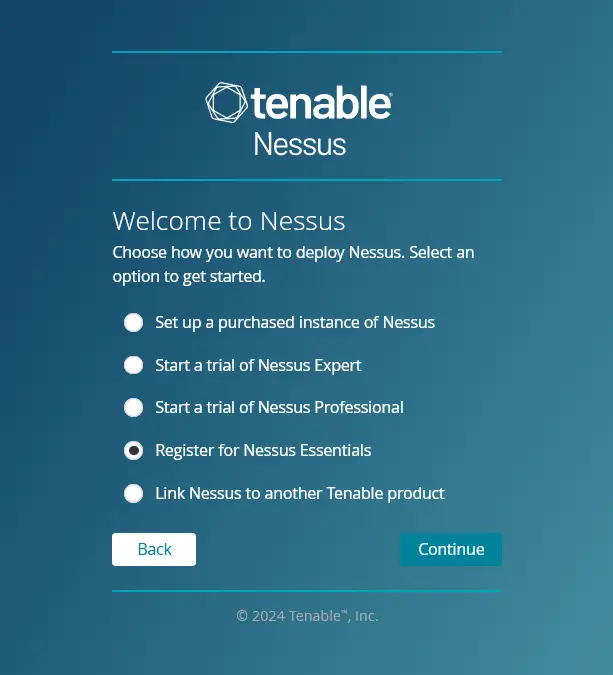
Select the option Register for Nessus Essentials and click Continue.
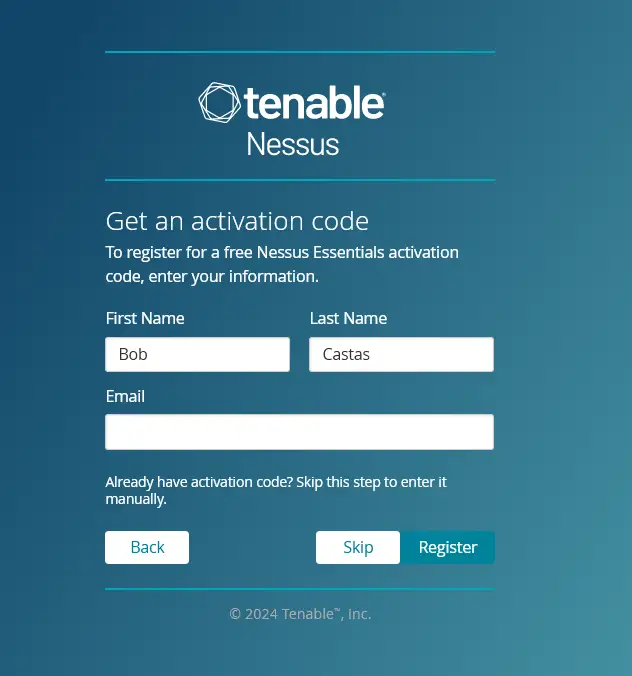
Input your name and email address details to get the Nessus activation code and click Register. This will generate a Nessus activation code for your installation.
In the screen, you will see the generated Nessus activation code. Click Continue again.

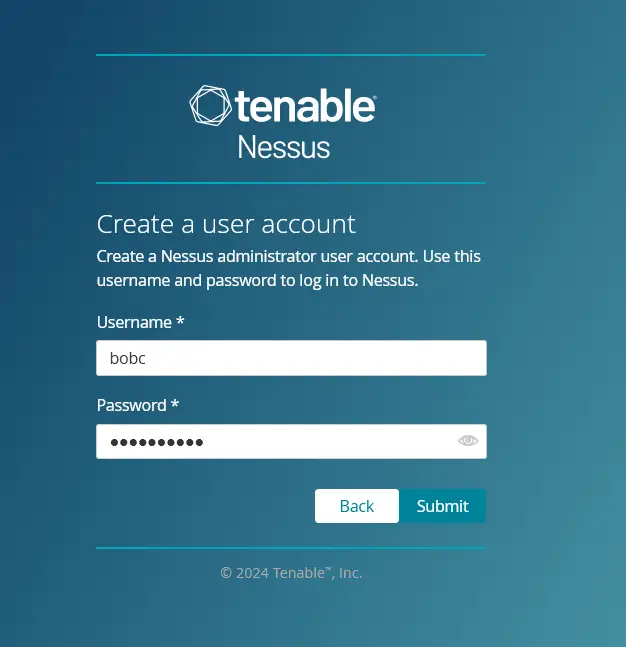
Input the new admin user and password for Nessus, then click Submit to confirm.
Now, the Nessus installation should be started.
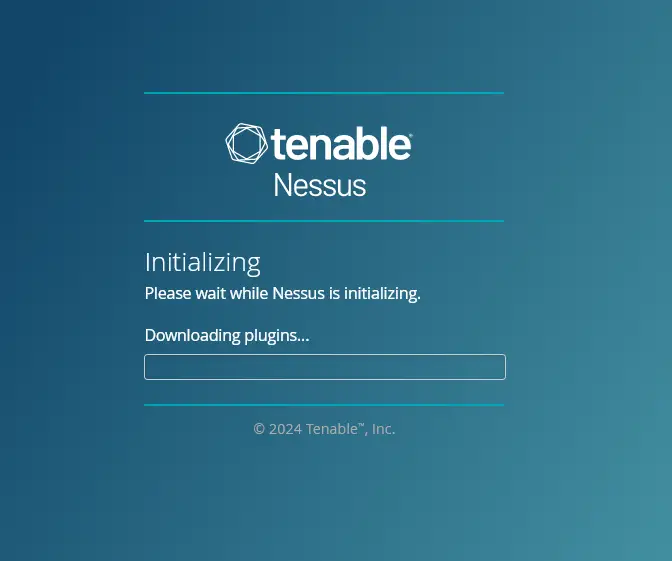
Once the installation is finished, you will get a Nessus dashboard like the following:
After you get the Nessus, wait for moments because Nessus will compile its required plugins. So take your time, because you can create scan without Nessus plugins compiled and installed.
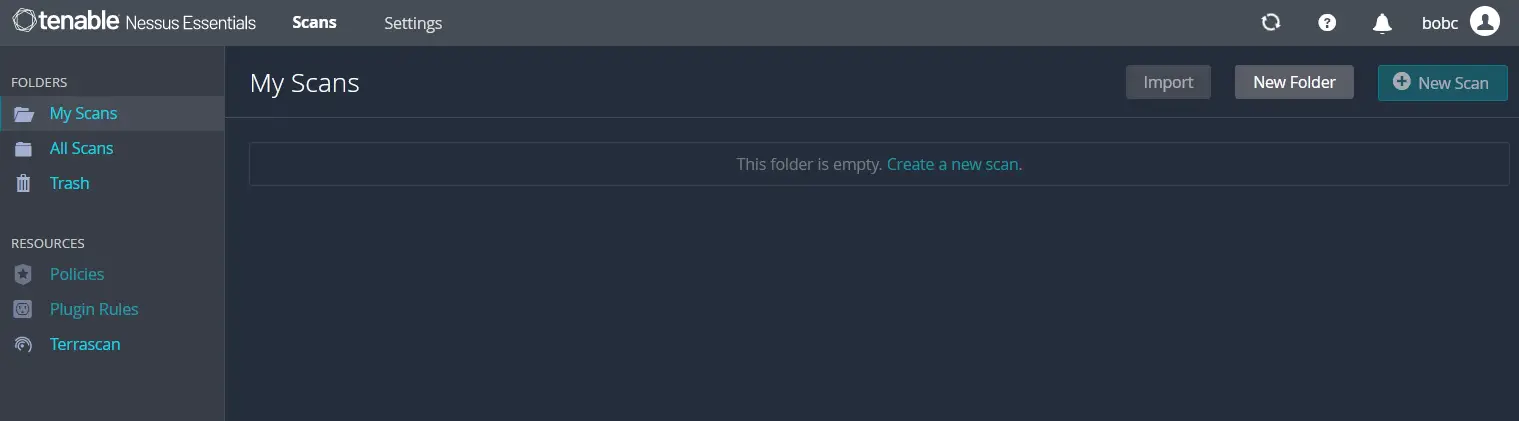
Creating the first scan with Nessus
To create a new scan on Nessus, select the My Scans folder and click Create a new scan.
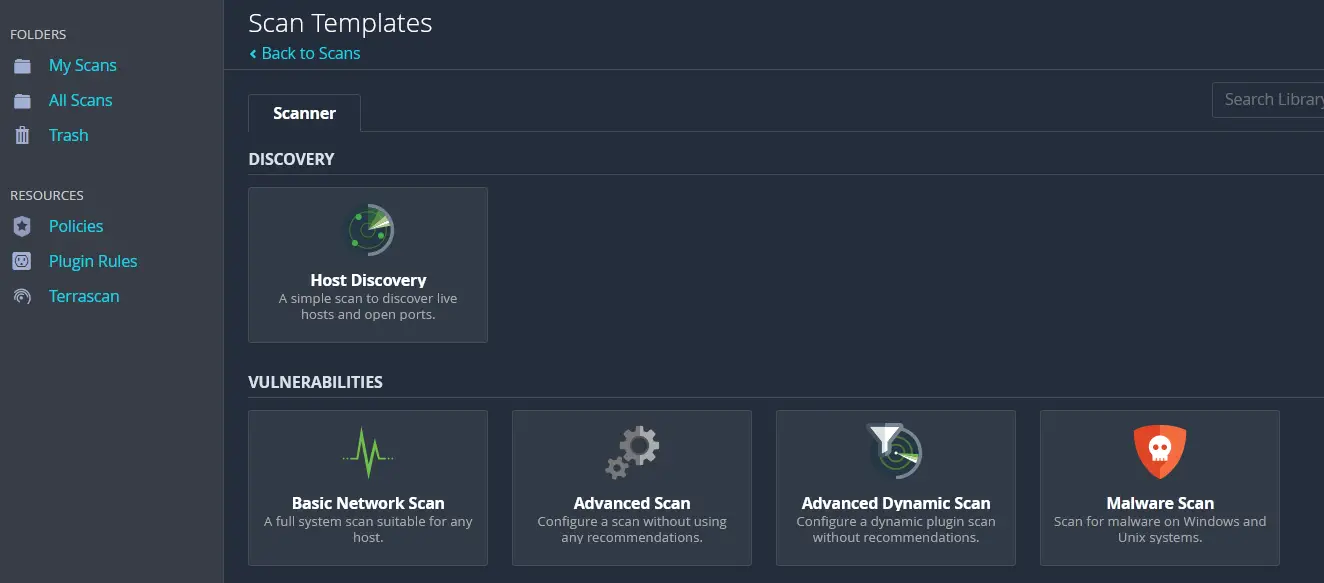
On the Scan Templates, select the Basic Network Scan template. You can use this template for most basic network scans.
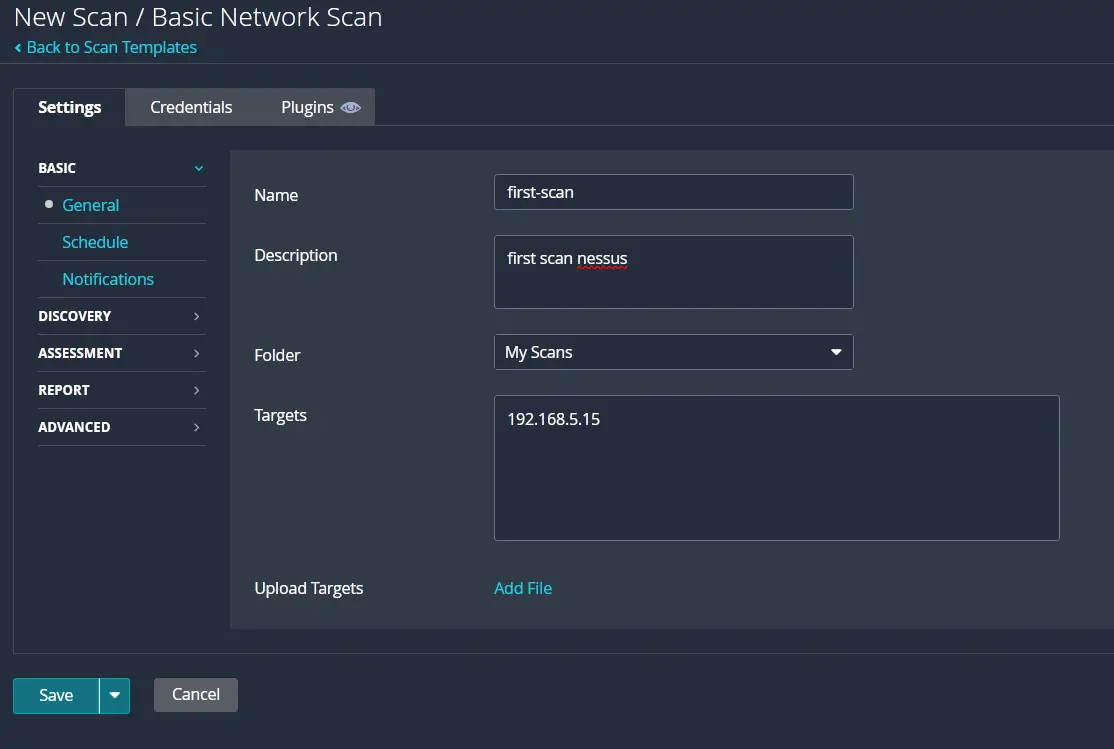
Type the name and description for the scan, select the folder My Scans, and then input the IP addresses of the target hosts. Now click Save to confirm.
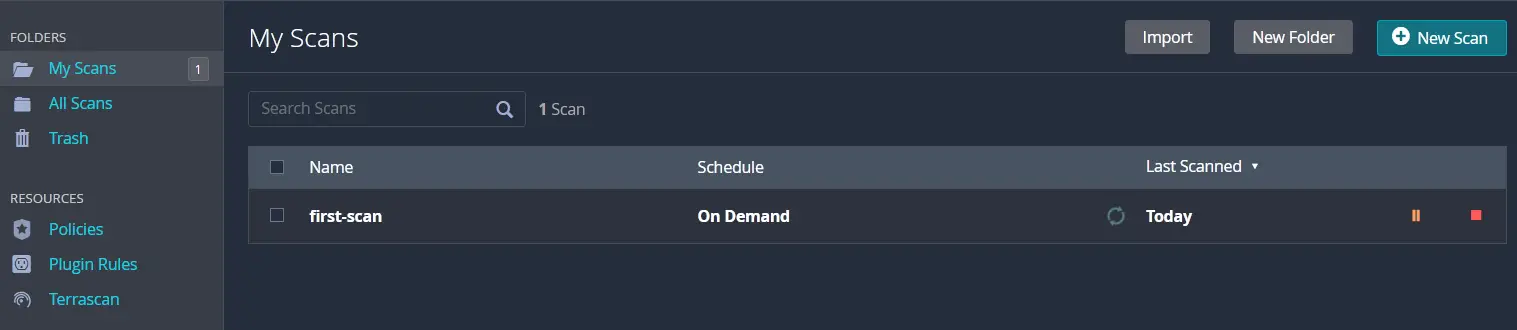
Back to the My Scans folder and you will see your scan is created. Click on the play/start button to start the scanning process.
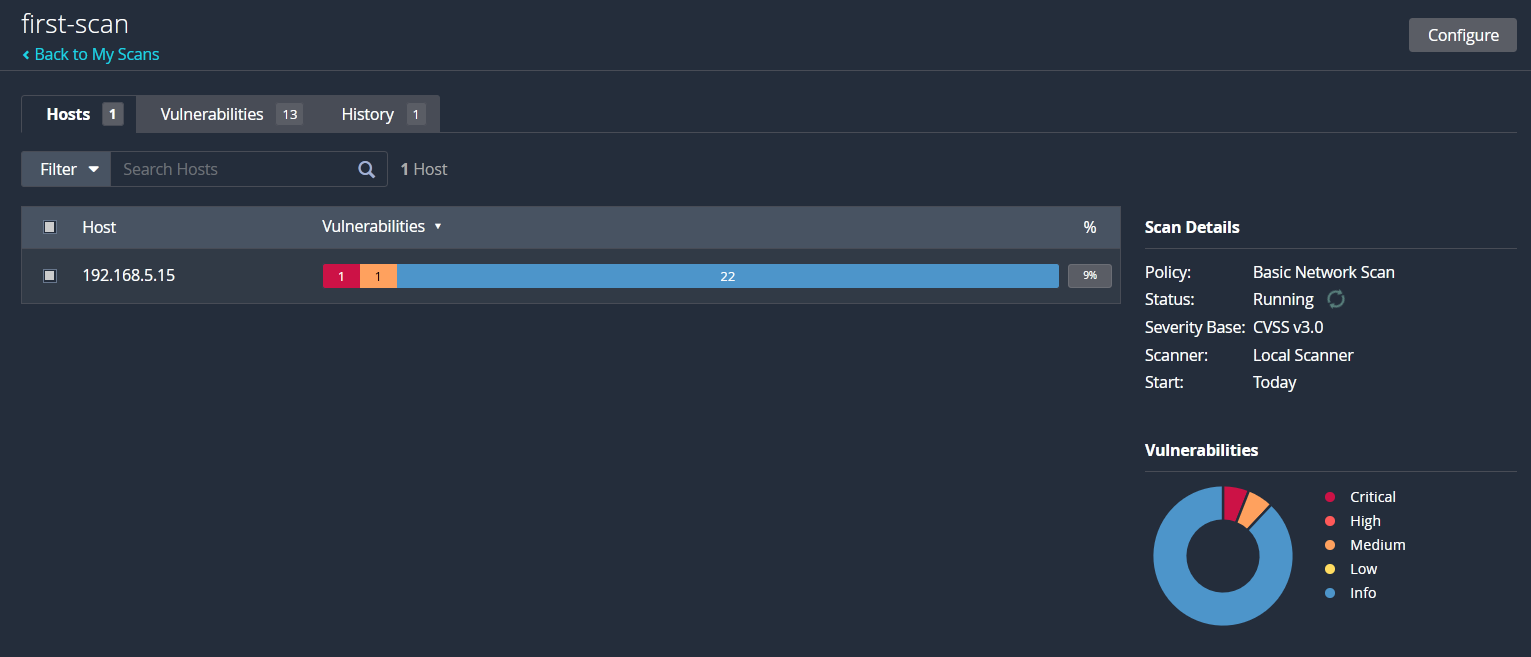
Once the scan is complete, click your scan, such as 'first-scan,' and you will see the summary of your scan.
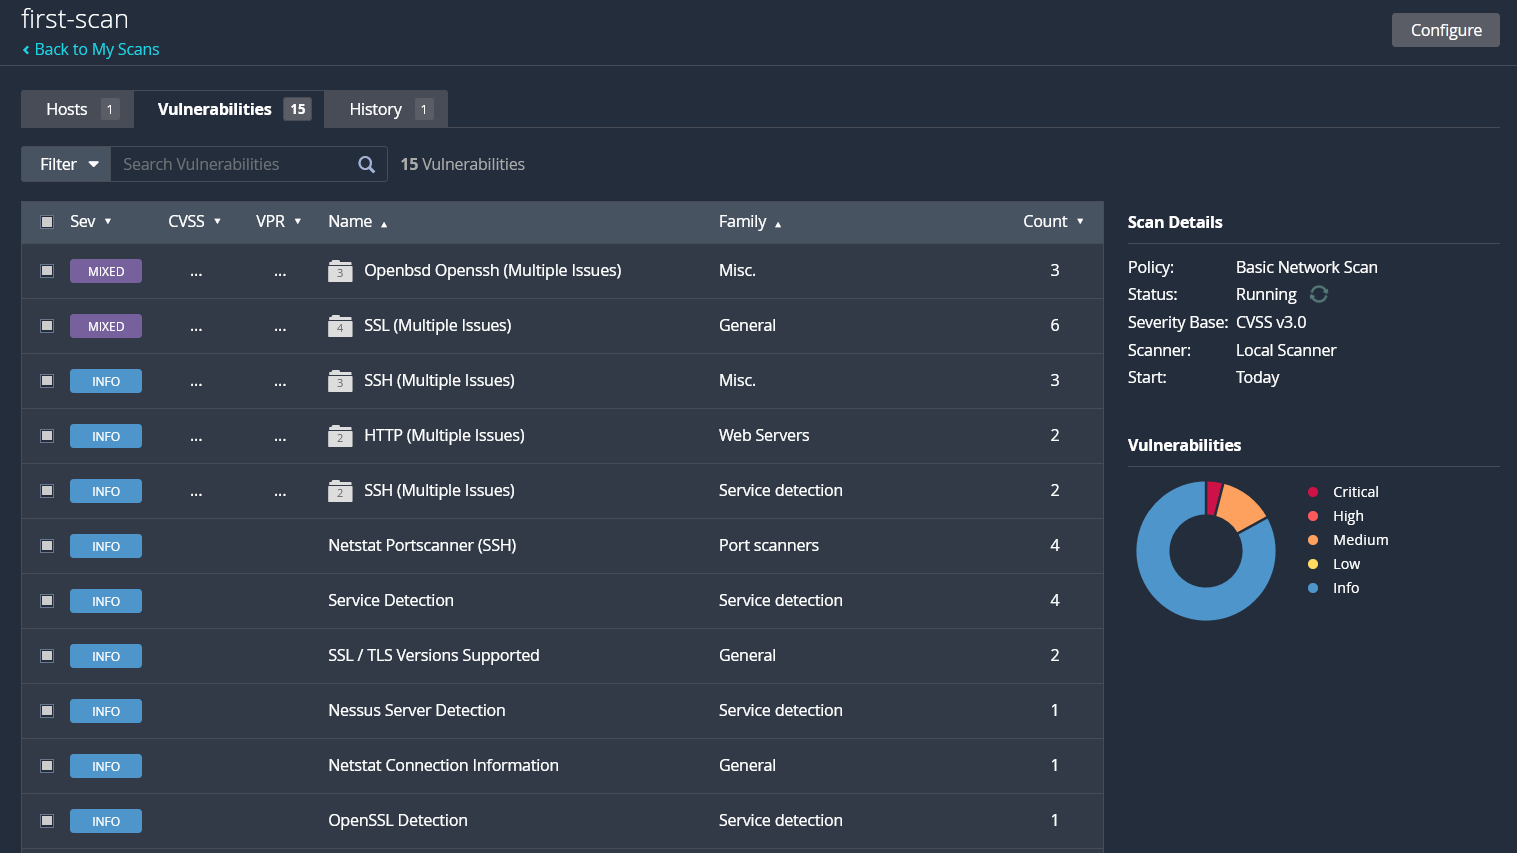
Click on the Vulnerabilities tab to get a list of CVSS detected by Nessus against your target servers.
Conclusion
Congratulations! You have now finished the installation of the Nessus Network Security Scanner on the Debian 12 server. You installed Nessus via DEB file, performed the first basic network scan against your host, and detected CVSS vulnerabilities via Nessus.

