
CakePHP is an open-source PHP framework. It allows you to build web applications simpler and faster and requires less code. CakePHP is developed using Hierarchical Model View Controller (HMVC) architecture.
It supports many languages, and it is easy for developers to create multiple types of applications. In this tutorial, we will show you how to install CakePHP on Ubuntu 22.04.
Table of Contents
Prerequisites
- Ubuntu 22.04 server
- SSH root access or a regular system user with sudo privileges
Step 1. Login to the server
First, log in to your Ubuntu 22.04 server through SSH as the root user:
You would need to substitute the ‘IP_Address‘ and ‘Port_number‘ with your server’s respective IP address and SSH port number. Additionally, replace ‘root’ with the username of the system user with sudo privileges.
You can check whether you have the proper Ubuntu version installed on your server with the following command:
You should get this output:
Before starting, you have to make sure that all Ubuntu OS packages installed on the server are up to date. You can do this by running the following commands:
Step 2. Install Apache and PHP
CakePHP supports Apache, nginx and even Microsoft IIS. Apache is regarded as the most extensively utilized and user-friendly web server software. It is fast, secure, reliable, and can be effortlessly tailored according to your requirements. In this step, we are going to install Apache and PHP with its extensions.
On the Ubuntu system, Apache will be up and running upon installation.
Step 3. Install Composer
CakePHP utilizes Composer, a tool for managing dependencies, as the officially endorsed approach for installation. Composer is not available on Ubuntu 22.04 default repository. Let’s execute the following command below to download the Composer installer using the wget command:
Once downloaded, we need to execute the following command to install and setup composer on our Ubuntu machine:
Verify the installation and check the installed build version of Composer:
The command above will return an output like this.
Step 4. Install MariaDB Server and Create a Database
CakePHP supports MySQL (5.6 or higher), MariaDB (5.6 or higher), PostgreSQL (9.4 or higher), Microsoft SQL Server (2012 or higher), and SQLite 3. In this step, we are going to install the MariaDB server from the default Ubuntu repository. To install the MariaDB server, execute this command below:
After installing the MariaDB server on an Ubuntu system, the MariaDB server will be running automatically. Therefore, we can now continue by creating a fresh database and database user for our vTiger website. Let’s login to MySQL shell as root user and create a database for our vTiger CRM website.
Once logged in to MySQL shell, we can run the following commands.
Make sure to create a more complicated database password and replace m0d1fyth15 in the command above with a more secure one.
The next step is optional but highly recommended. We need to create a password for our MySQL root user. Let’s invoke this command to proceed.
Step 5. Create CakePHP Project
Once composer, a dependency management tool, has been installed on your computer, we can proceed to create a CakePHP application called ‘project2023’ using the commands provided below. You can change ‘project2023’ with any project name you like. This will create a directory called ‘project2023’ in the directory where you execute the command.
At the end of the project2023 installation, it will prompt you to set the permission. Type Y, then enter to set the permission.
Once finished, we can edit the app_local.php file to connect CakePHP to our database.
Make sure to edit the required information using the database credentials we created in the previous step.

Next, we need to correct the file and directory ownership.
Step 6. Configure Apache
In this last step, we will create an Apache virtual host for our CakePHP website. Although CakePHP provides us with a built-in web server, we will use Apache as the webserver because this is for a production server.
Let’s create the virtual host now.
Insert the following into the file.
Make sure to replace cakephp.yourdomain.com with your actual domain or subdomain pointing to your server. Save the file, then exit.
Please note that we also need to enable mod_rewrite. The mod_rewrite module is installed by default on Ubuntu machines; we just need to enable the module and then activate it by restarting Apache.
To enable mod_rewrite, let’s run this command.
Then, restart Apache to apply the changes we made, then navigate to your http://cakephp.yourdomain.com.
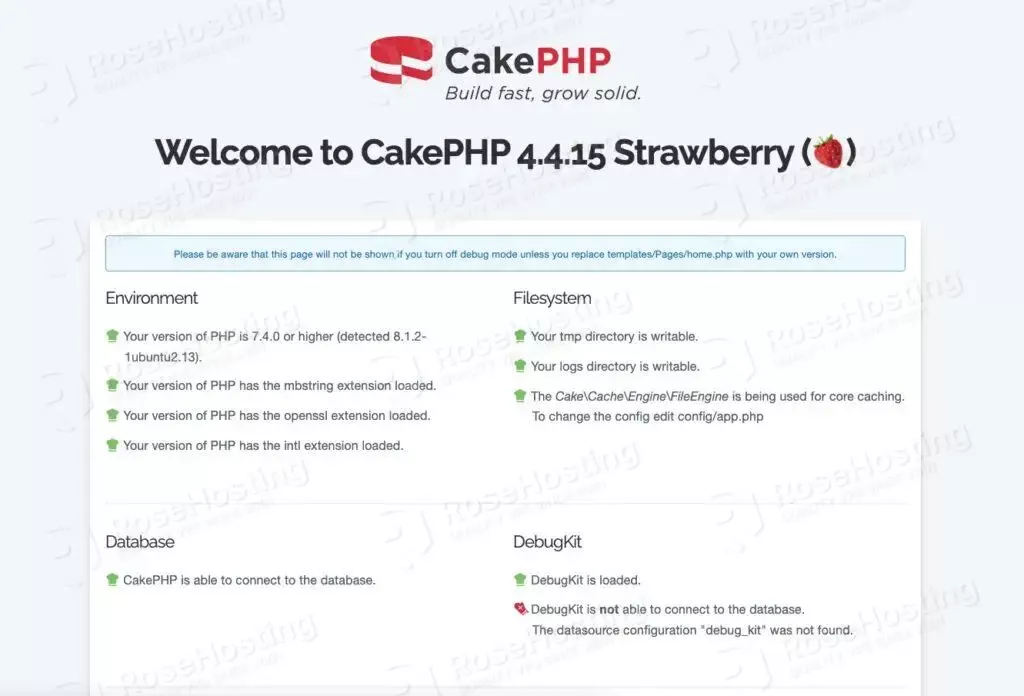
At this point, you should be able to access your CakePHP website at http://cakephp.yourdomain.com using any web browser you like.
That’s it all! You have successfully installed CakePHP on Ubuntu 22.04.
Of course, you don’t have to spend your time installing CakePHP on Ubuntu 22.04 if you have a managed Linux VPS hosting plan hosted with us. If you do, you can simply ask our support team to install CakePHP on Ubuntu 22.04 for you. They are available 24/7 and will be able to help you with the installation of CakePHP as well as any additional requirements that you may have.
PS. If you enjoyed reading this blog post on how to install CakePHP on Ubuntu 22.04, feel free to share it on social networks or simply leave a comment in the comments section. Thank you.