How to Install Plausible Analytics with Docker on Ubuntu 22.04
On this page
- Prerequsites
- Installing Docker CE (Community Edition)
- Downloading and Configuring Plausible Analytics
- Running Plausible Analytics with Docker Compose
- Setting up Apache2 as a Reverse Proxy
- Securing Plausible Analytics with SSL Letsencrypt
- Accessing Plausible Analytics
- Tracking Websites with Plausible Analytics
- Conclusion
Plausible is an open-source web analytics alternative to Google Analytics. It's lightweight and privacy-focused web analytics that can be used for multiple industries such as startups, freelancers, and bloggers.
Plausible and lightweight and simple web analytics. It provides important metrics on one single page, which makes web master easier to analyze metrics. Plausible is available in two versions, the Plausible service that you need to pay to the user and the Plausible self-hosted that you can install on your server.
The Plausible Analytics enables you to create self-hosted website analytics on your server and allows you to track websites unlimited. In this guide, you will learn how to install and configure the Plausible Analytics via Docker on an Ubuntu 22.04 server. You will also set up Nginx as a reverse proxy for the Plausible Analytics application and set up SSL via Letsencrypt.
Prerequsites
To begin, you will need the following requirements to complete this guide:
- An Ubuntu 22.04 server - This example uses a server with the hostname 'plausible-server'.
- A non-root user with sudo/root administrator privileges.
- A domain name or sub-domain pointed to the server IP address - This example uses the sub-domain 'plausible.hwdomain.io'.
Installing Docker CE (Community Edition)
The Plausible Analytics can be deployed and self-hosted via Docker on any operating system that supports the Docker engine. To do that, you must install the Docker Engine first on the target machine that you want to deploy the Plausible application.
Begin with this guide by installing the Docker CE (Community Edition) to your Ubuntu server via the official Docker repository.
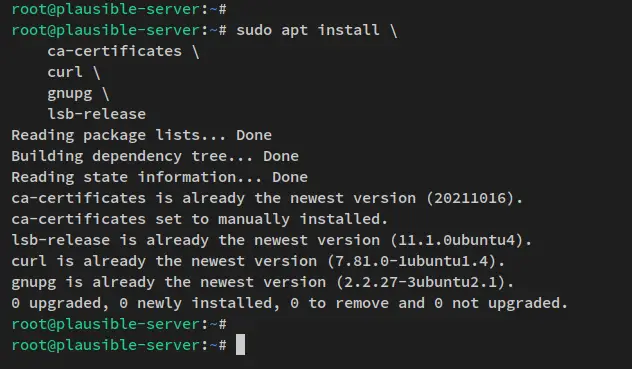
Run the apt command below to install some basic dependencies. When prompted for the configuration, input y and press ENTER to proceed.
sudo apt install \
    ca-certificates \
    curl \
    gnupg \
    lsb-release
Next, run the following command to download the GPG key for the Docker repository. Then, add the official Docker repository to your system.
sudo mkdir -p /etc/apt/keyrings
curl -fsSL https://download.docker.com/linux/ubuntu/gpg | sudo gpg --dearmor -o /etc/apt/keyrings/docker.gpg

echo \
  "deb [arch=$(dpkg --print-architecture) signed-by=/etc/apt/keyrings/docker.gpg] https://download.docker.com/linux/ubuntu \
  $(lsb_release -cs) stable" | sudo tee /etc/apt/sources.list.d/docker.list > /dev/null

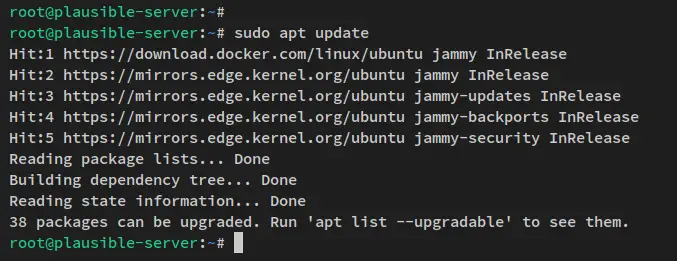
After the GPG key and Docker repository are added, refresh and update your repository via the apt command below.
sudo apt update
You will receive the output like the following - the Docker CE repository is added.
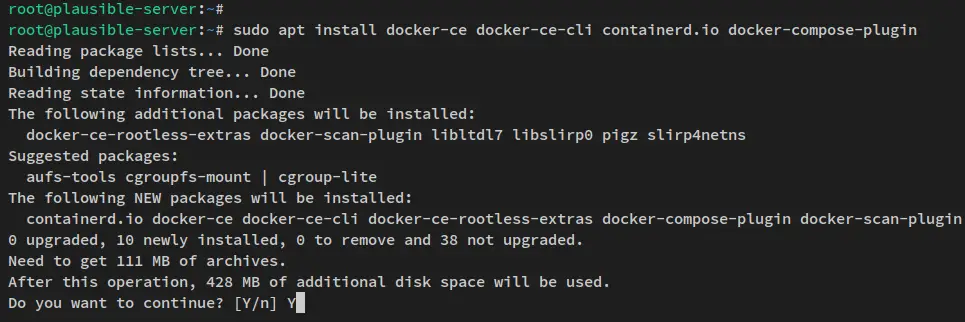
Now install Docker CE and Docker Compose using the following apt command.
sudo apt install docker-ce docker-ce-cli containerd.io docker-compose-plugin
Input y to confirm the installation, then press ENTER to proceed.
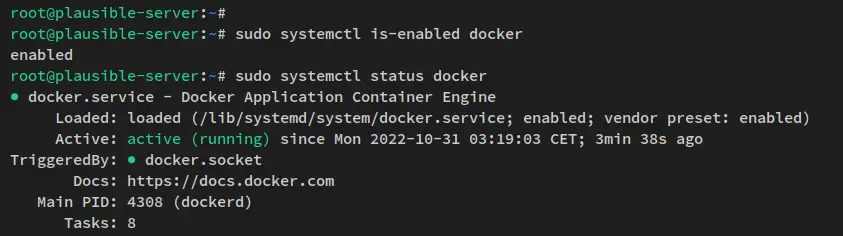
After Docker is installed, run the following systemctl command to verify the current status of the Docker service.
sudo systemctl is-enabled docker
sudo systemctl status docker
You should now receive the output of the Docker service running and enabled. The Docker will now automatically be run at system boot.
Now that Docker is installed, the next step will be setting up the Plausible Analytics installation.
Downloading and Configuring Plausible Analytics
After Docker is installed, you will now download the Plausible Analytics source code and configure the environment variable that will be used during the deployment. This includes some important settings such as the administrator user and password, the Plausible domain name for the installation, and the SECRET_KEY_BASE that will be used for securing Plausible.
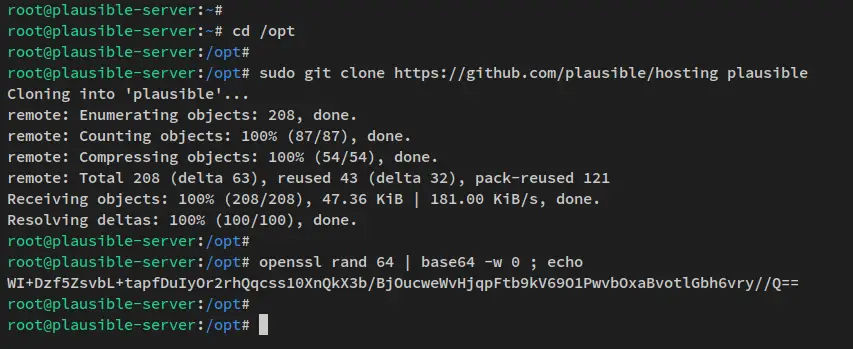
Move the working directory to '/opt'. Then, download the Plausible source code via the git command below.
cd /opt
sudo git clone https://github.com/plausible/hosting plausible
Next, run the following command to generate the SECRET_KEY_BASE for the Plausible Analytics.
openssl rand 64 | base64 -w 0 ; echo
You will receive the random string generated - ensure to save it, you will be using the generated random string here as the SECRET_KEY_BASE for Plausible.
Now move the working directory to '/opt/plausible', which is the Plasibble installation directory. Then, use the following nano editor command to edit the configuration file 'plausible-conf.env'.
cd /opt/plausible
sudo nano plausible-conf.env
Change details configuration with your deployment environment. Also, be sure to change the details admin user, email, and password. And also the domain name for your installation and the SECRET_KEY_BASE with the random string that you have generated.
The following configurations will be used as the variable during the Plausible Analytic deployment via Docker and Docker Compose.
[email protected]
ADMIN_USER_NAME=alice
ADMIN_USER_PWD=admin_alice_password
BASE_URL=https://plausible.hwdomain.io
SECRET_KEY_BASE=WI+Dzf5ZsvbL+tapfDuIyOr2rhQqcss10XnQkX3b/BjOucweWvHjqpFtb9kV69O1PwvbOxaBvotlGbh6vry//Q==

Save the file and exit the editor when you are finished.
Running Plausible Analytics with Docker Compose
Now that you've configured the environment that will be used for Plausible deployment. Now you will be setting up the docker-compose.yml script and deploying the Plausible via Docker Compose.
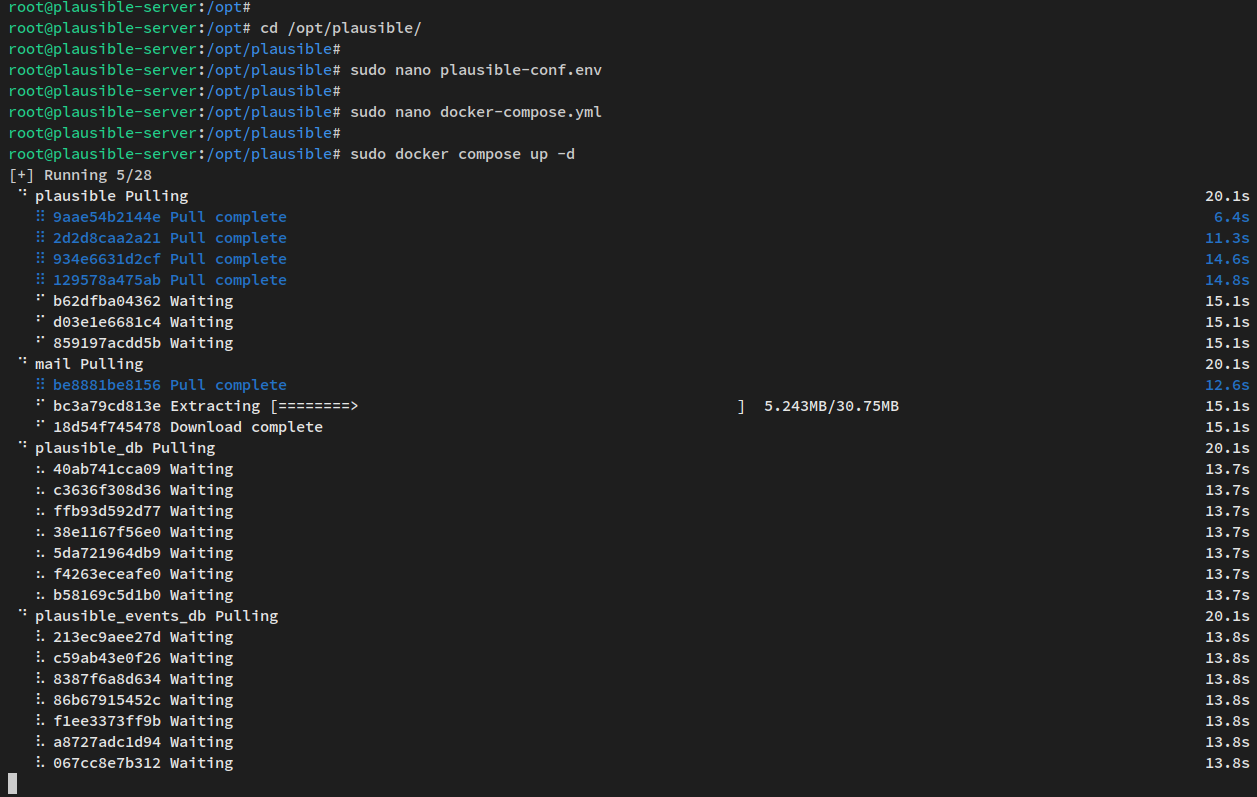
Move your working directory to the Plausible installation directory '/opt/plausible'.
cd /opt/plausible
Use the following nano editor to edit the Docker Compose config file 'docker-compose.yml'.
sudo nano docker-compose.yml
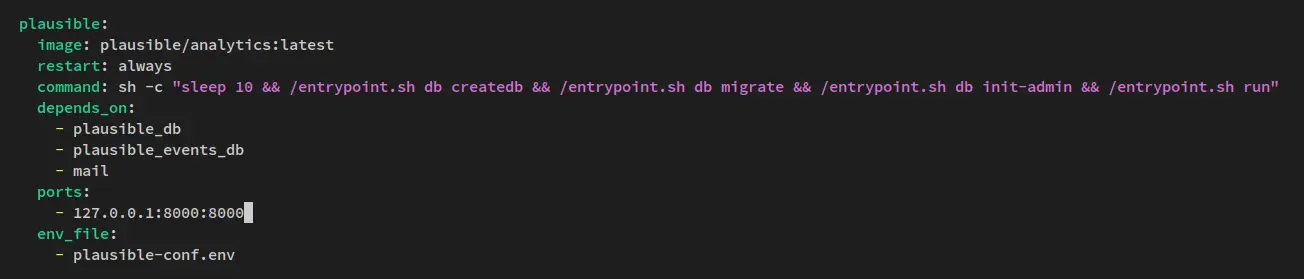
On the 'plausible' service section, change the default 'ports' configuration with the following configuration. With this setting, the Plausible Analytic service will be run at the localhost on the default port 8000.
plausible:
......
    ports:
      - 127.0.0.1:8000:8000
......
Save the file and exit the editor when you are finished.
Once you changed the docker-compose.yml file, run the docker command below to start building and deploying the Plausible Analytic service.
sudo docker compose up -d
Once you run the command, Docker will download images that will be used for the Plausible deployment, which includes PostgreSQL as the database. And also, you will see new volumes are created.
Below is the output of the Plausible deployment processes.
Once the Plausible deployment is finished, below you should see container services are started.

Now verify the running container and services via the docker command below. And you should see Plausible services are running.
sudo docker compose ps

You can also verify the list of Docker images that are available on your system via the command below. And you should see multiple images including the PostgreSQL and Plausible images.
sudo docker compose images

Lastly, run the following command to verify that the Plausible service is running. This will try to reach the Plausible service that running on localhost with the default port 8000.
curl http://localhost:8000
In the following output, you can see that you are redirected to the URL path '/login' for the Plausible login page.

Setting up Apache2 as a Reverse Proxy
Now that the Plausible Analytics is running within Docker. You will now install the Apache2 web server and setting up it as a reverse proxy for the Plausible web application.
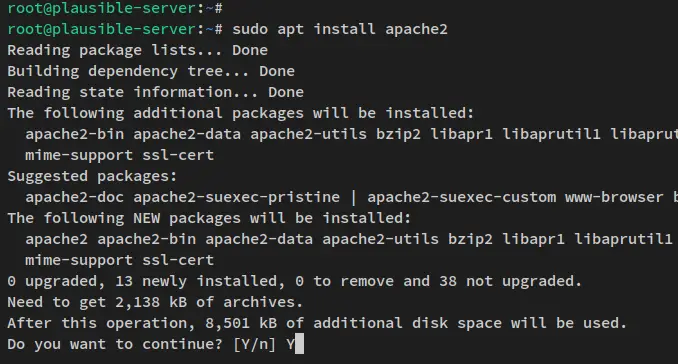
Run the following apt command to install the Apache2 web server to your system. Input y to confirm the installation and press ENTER to proceed.
sudo apt install apache2
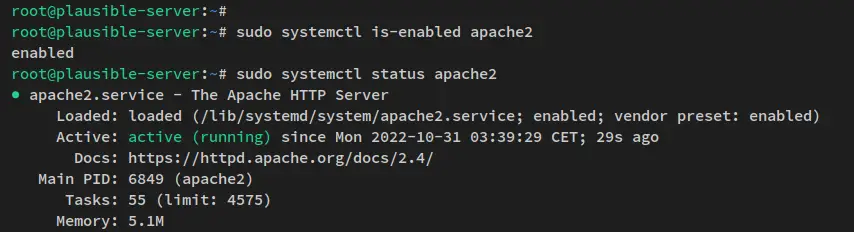
Now verify the apache2 service to ensure that the service is running. Use the following systemctl command.
sudo systemctl is-enabled apache2
sudo systemctl status apache2
In the following output, you will see the apache2 service is running and enabled. This means the apache2 service will be run automatically at system boot.
Now that the Apache2 web server is installed, you will next set up the virtual host that will be used as a reverse proxy for the Plausible Analytics web application.
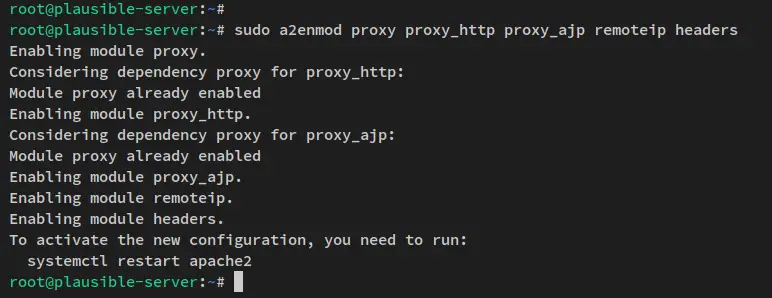
To start, run the following command to enable some apache2 modules. This includes the modules that will run the apache2 as a reverse proxy and the mod_ssl module.
sudo a2enmod proxy proxy_http proxy_ajp remoteip headers ssl
You should see the output like the following.
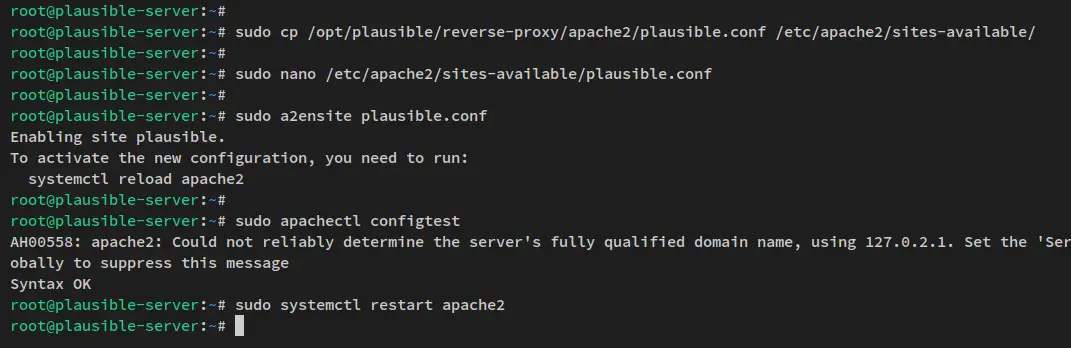
Next, run the following command to copy the default virtual host configuration for the apache2 reverse proxy to the '/etc/apache2/sites-available/' directory.
sudo cp /opt/plausible/reverse-proxy/apache2/plausible.conf /etc/apache2/sites-available/
Now use the following nano editor command to edit the virtual host configuration '/etc/apache2/sites-available/plausible.conf'.
sudo nano /etc/apache2/sites-available/plausible.conf
Change the domain name of the Plausible installation with your domain. In this example, the Plausible Analytics will be run on the sub-domain 'plausible.hwdomain.io'.
ServerAdmin [email protected]
ServerName plausible.hwdomain.io
Save the file and exit the editor when you are finished.
Next, activate the virtual host configuration 'plausible.conf' via the a2ensite command below.
sudo a2ensite plausible.conf
After that, run the following command to verify the apache2 configuration and make sure that you have the correct configurations. If you get the output message such as 'Syntax OK', it means that your configuration is correct.
sudo apachectl configtest
Lastly, restart the apache2 service via the systemctl command below to apply the new virtual host configuration 'plausible.conf'.
sudo systemctl restart apache2
At this point, you have finished the configuration of Apache2 as a reverse proxy for the Plausible Analytics. The next step will be securing the Plausible deployment with SSL from Letsencrypt.
Securing Plausible Analytics with SSL Letsencrypt
After configuring the Apache2 reverser proxy for Plausible Analytics, you will now secure the Plausible via SSL Letsencrypt. So, before you start, ensure that the domain that will be used for the Plausible is pointed to the server IP address. Also, be sure to have an email address that will be used to register the domain name to Letsencrypt.
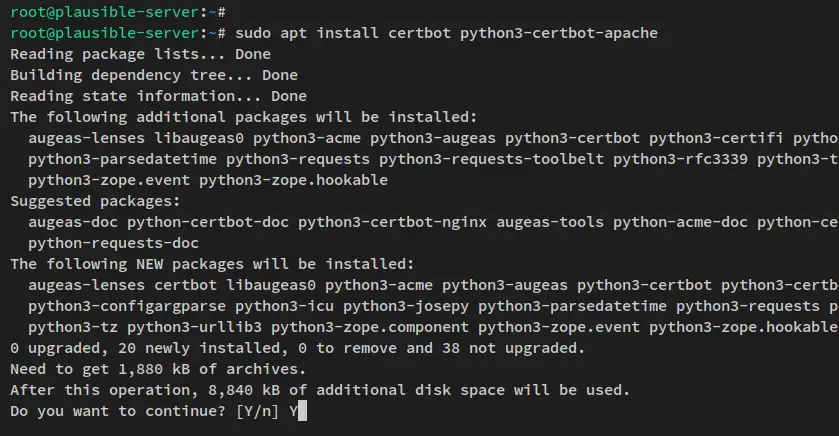
Install the certbot tool and the certbot plugin for Apache2 via the apt command below.
sudo apt install certbot python3-certbot-apache
Input y to confirm the installation and press ENTER to proceed with the installation.
After certbot is installed, you can now generate SSL certificates via the certbot command below. Be sure to change the domain name for your Plausible installation.
sudo certbot --apache -d plausible.hwdomain.io
Once the process is finished, you should see the output like the following. The Plausible Analytics is now secured with SSL Letsencrypt.
Congratulations! You have successfully enabled https://plausible.hwdomain.io

You should test your configuration at:
https://www.ssllabs.com/ssltest/analyze.html?d=plausible.hwdomain.io
- - - - - - - - - - - - - - - - - - - - - - - - - - - - - - - - - - - - - - - -

IMPORTANT NOTES:
 - Congratulations! Your certificate and chain have been saved at:
   /etc/letsencrypt/live/plausible.hwdomain.io/fullchain.pem
   Your key file has been saved at:
   /etc/letsencrypt/live/plausible.hwdomain.io/privkey.pem
   Your cert will expire on 2022-12-10. To obtain a new or tweaked
   version of this certificate in the future, simply run certbot again
   with the "certonly" option. To non-interactively renew *all* of
   your certificates, run "certbot renew"
 - Your account credentials have been saved in your Certbot
   configuration directory at /etc/letsencrypt. You should make a
   secure backup of this folder now. This configuration directory will
   also contain certificates and private keys obtained by Certbot so
   making regular backups of this folder is ideal.
 - If you like Certbot, please consider supporting our work by:

   Donating to ISRG / Let's Encrypt:   https://letsencrypt.org/donate
   Donating to EFF:                    https://eff.org/donate-le
At this point, your Plausible Analytics is accessible via a secure HTTPS connection.
Accessing Plausible Analytics
Now that the Plausible Analytics is secured with SSL Letsencrypt. You can now securely access your Playsible installation from your web browser.
Open your web browser and visit the domain name of your Plausible Analytics (i.e: https://plausible.hwdomain.io/).
At first, you will be shown the Plausible login page. Input the admin email address and the password for your Plausible. This can be found in the config file 'plausible-conf.env'.
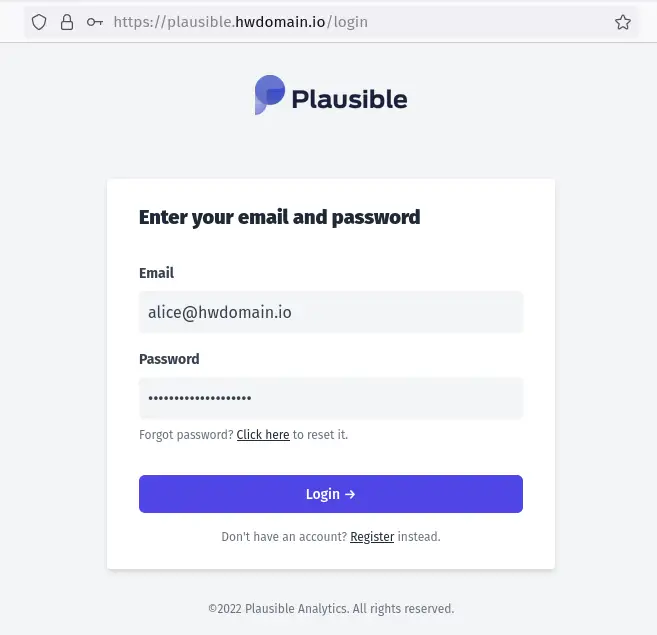
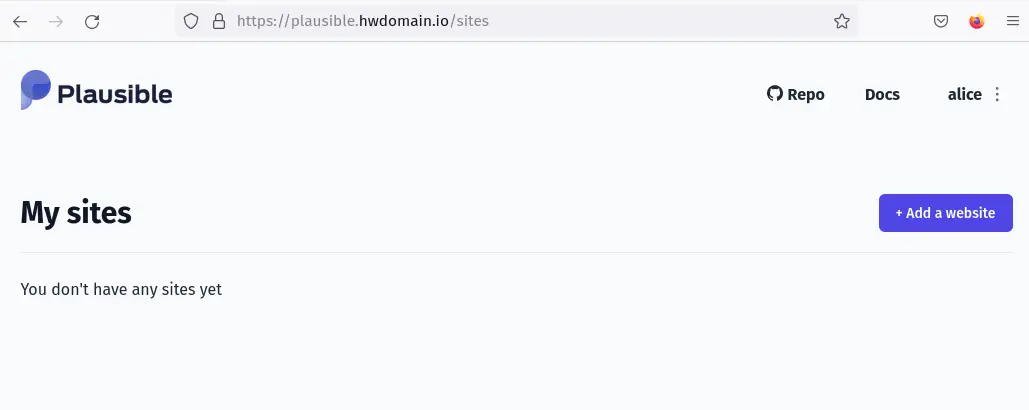
You should now be shown the Plausible Analytics dashboard if you have the correct admin user and password.
Tracking Websites with Plausible Analytics
In the following step, you will learn how to track and add the website to the Plausible Analytics.
On the Plausible dashboard, click 'Add a website'.
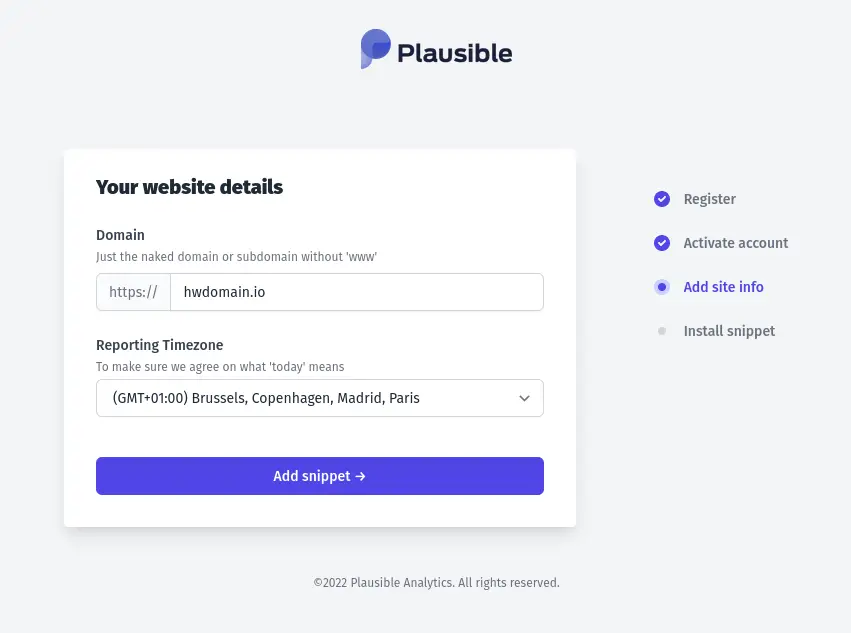
Now, input the domain name you want to track and select the time to use. Then, click 'Add snippet'.
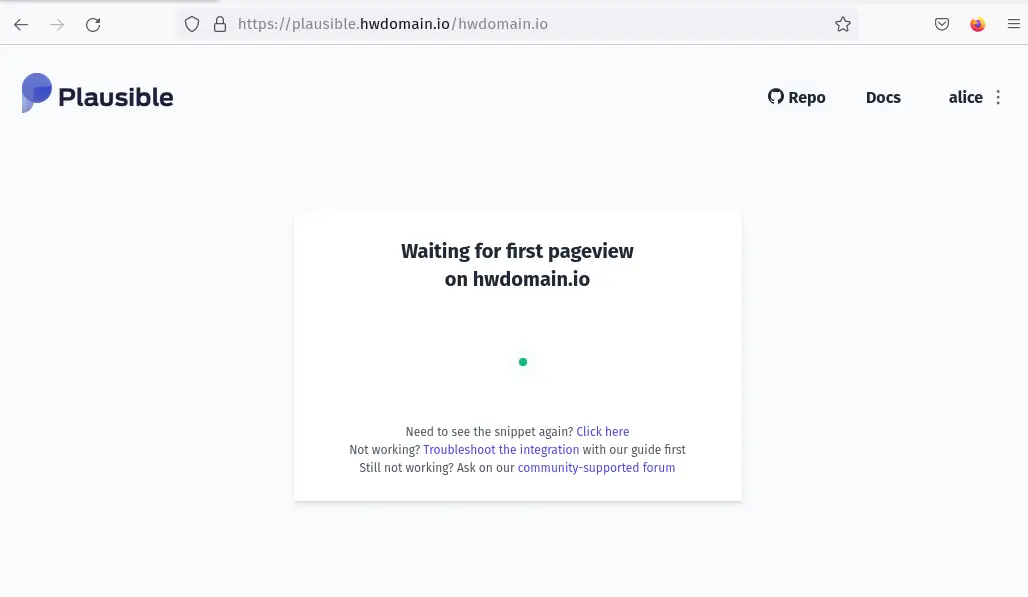
You can now add the JavaScript snippet to your target website. Then click 'Start collecting data'.

In the following screenshot, you can see the domains are added to the Plausible Analytics.
Conclusion
In this tutorial, you have installed the Plausible Analytics via Docker on an Ubuntu 22.04 server. Also, you have installed the Apache2 web server as a reverse proxy for the Plausible Analytics and secured the deployment via SSL Letsencrypt. For the basic usage of Plausible Analytics, you have learned how to track websites via Plausible Analytics.
Now, if you'd like to continue, you can add more websites to the self-hosted Plausible Analytics that are installed on your system.

