
Caddy is a modern, open-source web server written in Go. It is distinguished by its simplicity, power, and capabilities for automatically obtaining and renewing SSL certificates. Unlike traditional web servers, Caddy is renowned for its ease of use, with an emphasis on automation and security by default.
But Caddy’s capabilities extend beyond serving static websites and applications; it shines as a reverse proxy – a server that sits in front of internal applications and forwards client (e.g., web browser) requests to the appropriate server.
Choosing Caddy as your reverse proxy solution is a wise move. While there are alternatives like Nginx, which enjoys widespread popularity, it demands a slightly more complex setup compared to Caddy. Traefik, another excellent choice, offers remarkable power and flexibility, especially for cloud-based solutions, yet its configuration complexities are significantly higher.
This highlights why Caddy stands out as the premier option for those seeking a reverse proxy solution that combines ease of use with speed, security, and reliability, all proven across numerous production environments.
This comprehensive article will delve into how to harness Caddy as a reverse proxy, guiding you through the setup process and configuration. We’re excited to show you how straightforward it is to get up and running with Caddy. So, let’s dive in.
Install Caddy
Right off the bat, let’s clarify something: You can either install Caddy directly through your Linux distribution’s package manager or set it up as a Docker container if you prefer container-based setups. In this guide, we’ll explore both options, starting with how to install it as a package.
Depending on the distribution you are using, please use the appropriate command:
Debian, Ubuntu, Linux Mint
sudo apt install caddyCode language: Bash (bash)RHEL, Fedora, AlmaLinux, Rocky Linux
sudo dnf install 'dnf-command(copr)'
sudo dnf copr enable @caddy/caddy
sudo dnf install caddy
sudo systemctl enable caddy
sudo systemctl start caddyCode language: Bash (bash)
Arch Linux, Manjaro
sudo pacman -S caddy
sudo systemctl enable caddy
sudo systemctl start caddyCode language: Bash (bash)
Set up Caddy as a Reverse Proxy
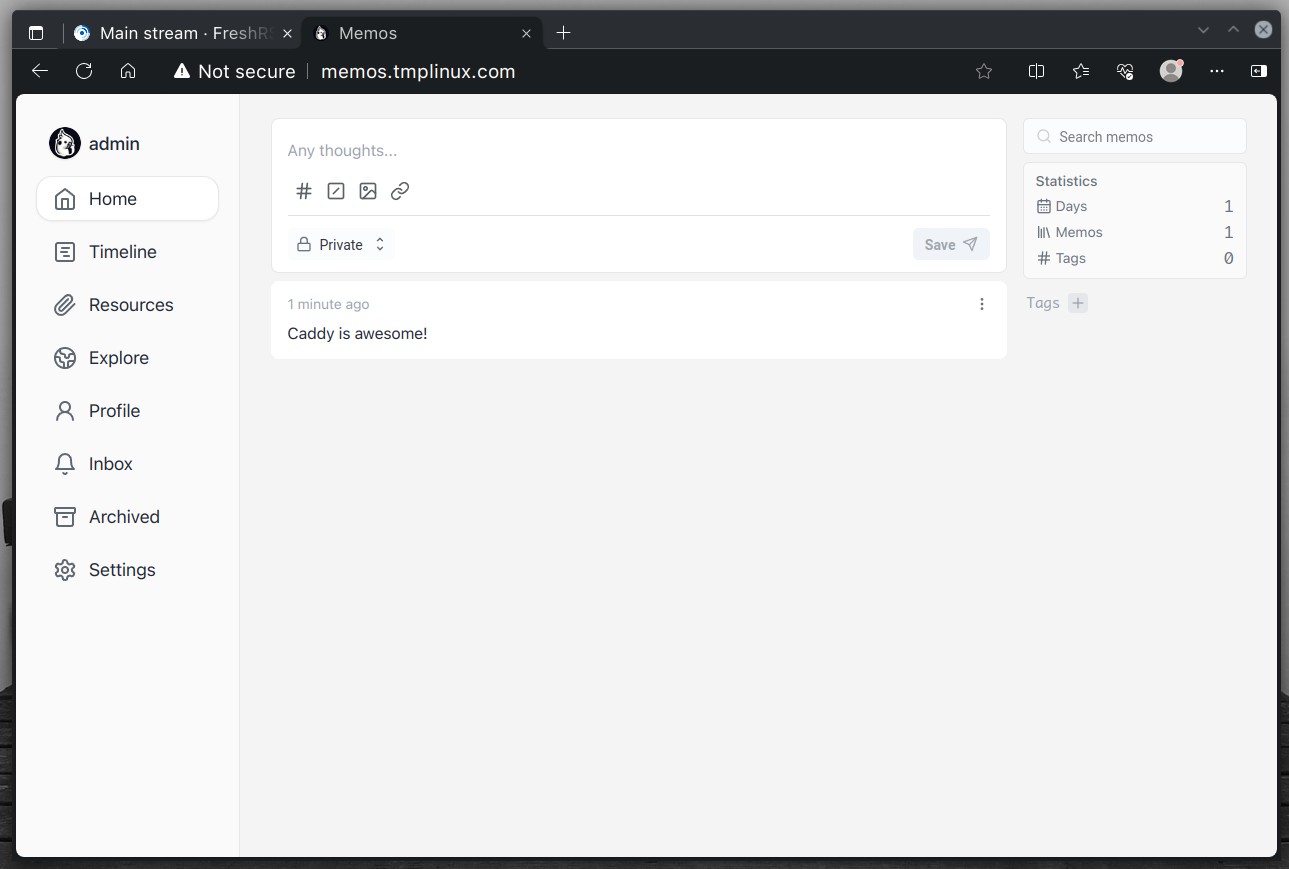
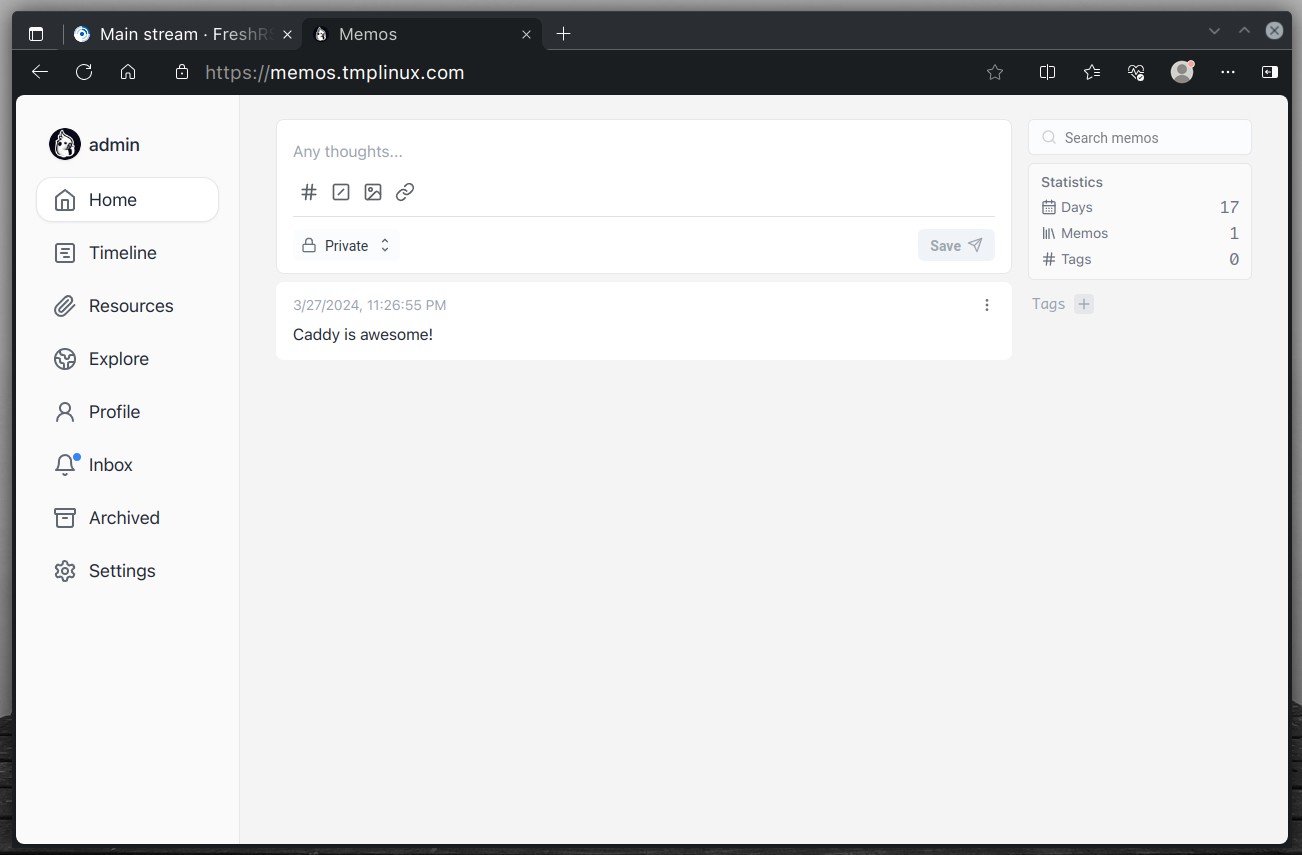
Let’s start by clarifying our setup. Caddy is commonly used as a reverse proxy to route traffic to containerized applications running behind it, so we’ll follow this pattern. We’ve chosen two containerized sample applications for our demonstration: the FreshRSS reader and the Memos note-taking app, which run on ports 1080 and 5230, respectively.
Of course, you might be working with many applications – 10, 20, 100, or more. Caddy is fully capable of managing such heavy loads without any issues. We’ve opted for just two applications to keep things as simple and clear as possible.
To find out which ports your Dockerized applications are running on, you can swiftly and effortlessly do so by executing the following command:
docker container ls --format "table {{.ID}}\t{{.Names}}\t{{.Ports}}" -aCode language: Bash (bash)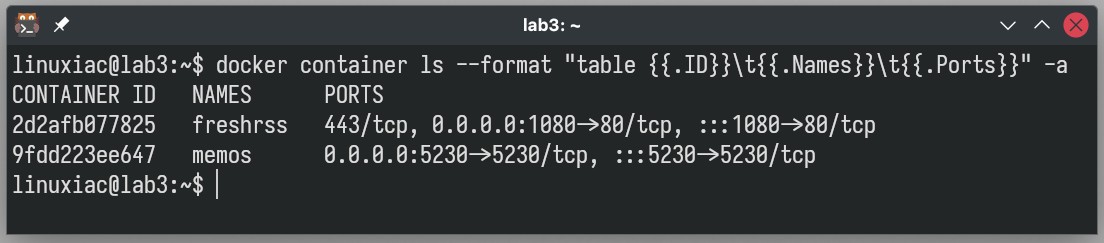
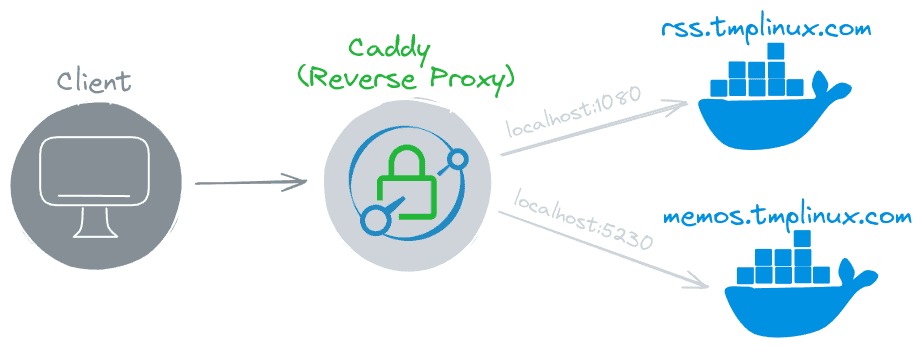
Let’s now discuss the domain records that Caddy will manage. For this guide, we’re using “tmplinux.com,” a domain we own and use for tests. We’ll direct two specific DNS records, “rss.tmplinux.com” for the FreshRSS app and “memos.tmplinux.com” for the Memos note-taking app, to the server Caddy runs on.
However, if you don’t have your own domain, you can always set an entry for an arbitrary one in your “/etc/hosts” file. But if you don’t know how to do this, our detailed guide here explains everything.
Here’s what our production process looks like to give you a better visual understanding.
Now that everything is clear let’s get straight to the point: setting up Caddy to handle reverse proxy tasks.
Edit the Caddyfile
All we need to do is enter very simple instructions in the main Caddy’s configuration file, named “Caddyfile,” in the “/etc/caddy/” directory.
It tells Caddy how to serve web content, manage HTTPS certificates automatically, route requests, and handle other web server tasks with minimal configuration. Simply put, it is a set of instructions that guides Caddy in efficiently interacting with and managing web traffic.
Open it with your preferred text editor, remove the existing content, and replace it with the one shown below. Immediately explain its meaning.
sudo nano /etc/caddy/CaddyfileCode language: Bash (bash){
auto_https off
}
rss.tmplinux.com:80 {
reverse_proxy localhost:1080
}
memos.tmplinux.com:80 {
reverse_proxy localhost:5230
}Code language: Nginx (nginx)The initial section is the global options block, which holds settings applicable across the entire Caddy server. We’ve specified the “auto_https” setting within this block as “off.” This tells Caddy to disable features like automatic SSL certificate provisioning and automatic redirection from HTTP to HTTPS. For more information, you can take a look here.
The following two sections define the domain names that Caddy will serve. It will accept requests on port 80 and use the “reverse_proxy” option to reroute them to our Docker applications’ exposed ports. Since these applications are hosted on the same machine, we’ve specified the address as “localhost.”
Restart the Caddy Service
Finally, save the file, exit, and restart Caddy:
sudo systemctl restart caddyCode language: Bash (bash)Make sure Caddy is working:
sudo systemctl status caddyCode language: Bash (bash)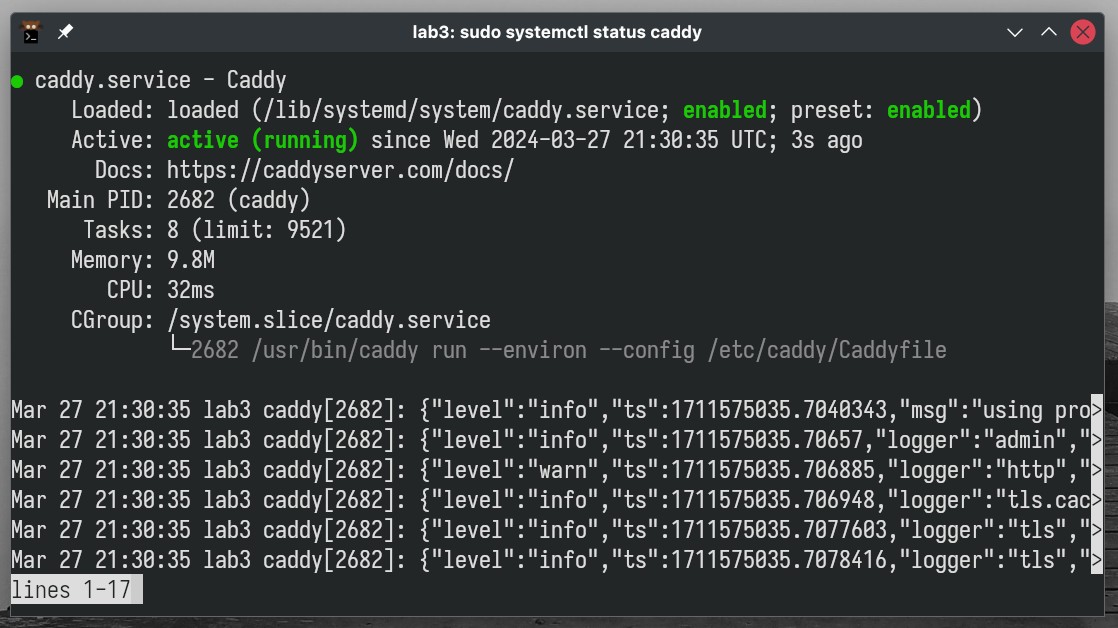
Testing If Everything Works as Expected
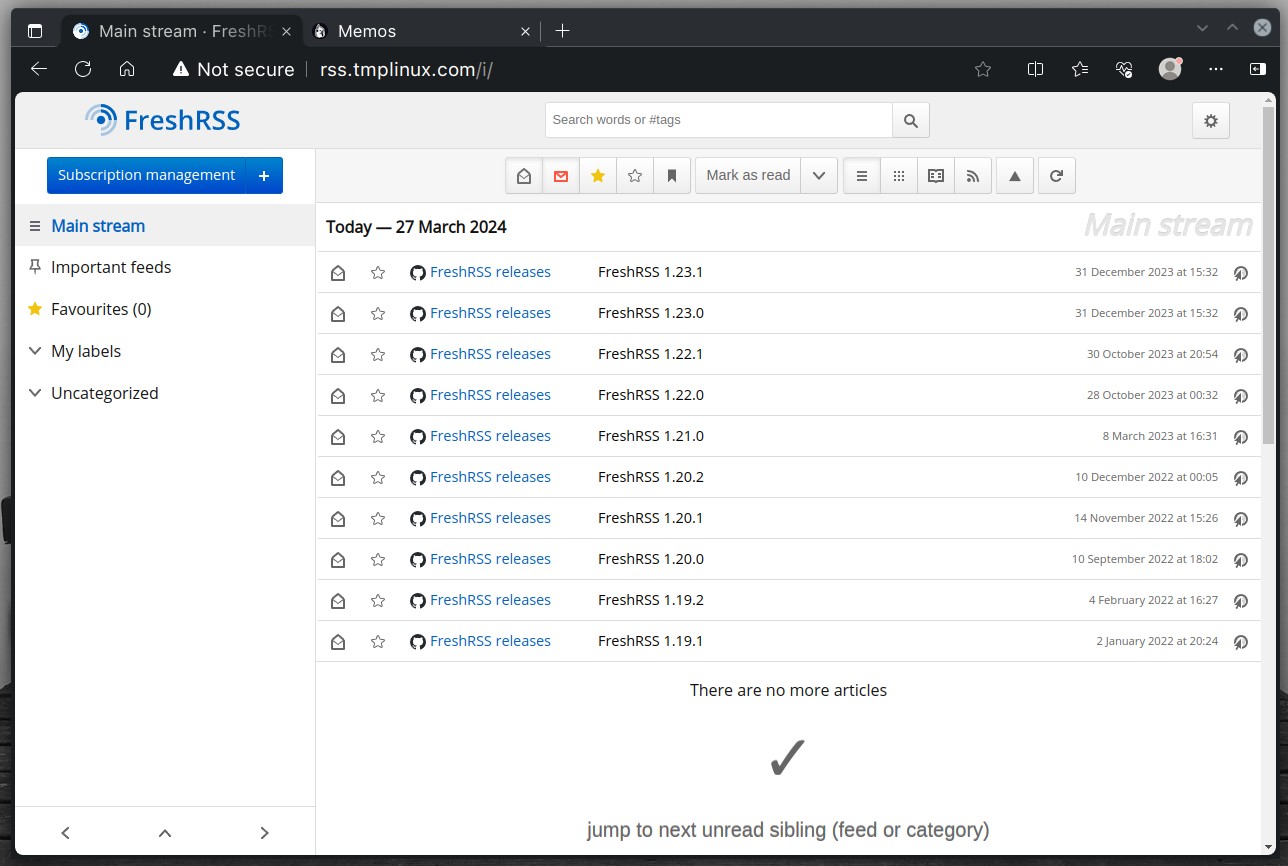
If you point your browser to the subdomains in the “Caddyfile,” Caddy will act as a reverse proxy and ensure that your requests are directed to the proper containers based on the subdomain names.
How much easier can it be than that? With just a few configuration lines, we’ve set up a reliable reverse proxy server using Caddy. Next, let’s explore not installing Caddy directly from a package but running it within a Docker container instead.
Set up Caddy as a Reverse Proxy in a Docker Container
To set up Caddy as a reverse proxy inside a Docker container, it’s essential to ensure two key requirements are satisfied:
- Caddy and the containers it will forward requests to should be in the same Docker network.
- In the “Caddyfile,” you should refer to the containers by their names.
Setting up a Docker Network
So first, let’s create our Docker network by choosing “reverse_proxy” as the name.
docker network create reverse_proxyCode language: Bash (bash)Next, we’ll verify that everything is in order and the network is available.
docker network lsCode language: Bash (bash)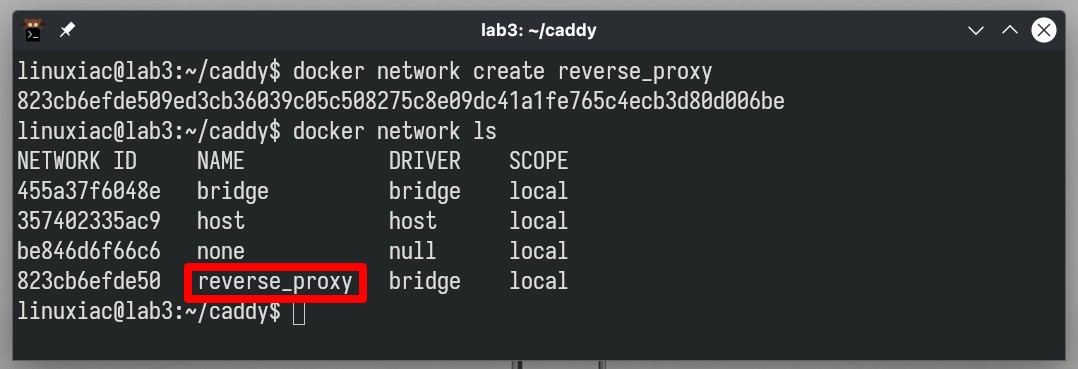
Set up Caddy Docker File
Create a directory “caddy” and go to it.
mkdir caddy
cd caddyCode language: Bash (bash)
We’ll be deploying Caddy using Docker Compose. If this is new to you, don’t worry – our comprehensive guide will quickly get you up to speed.
Open your text editor and create a “docker-compose.yaml “file. Paste the content provided below, save it, and exit.
nano docker-compose.yamlCode language: Bash (bash)version: '3.8'
services:
caddy:
container_name: caddy
image: caddy:alpine
restart: always
ports:
- 80:80
- 443:443
networks:
- reverse_proxy
volumes:
- ./Caddyfile:/etc/caddy/Caddyfile
- caddy_data:/data
- caddy_config:/config
volumes:
caddy_data:
caddy_config:
networks:
reverse_proxy:
external: trueCode language: YAML (yaml)Create Caddyfile
Now, let’s prepare our “Caddyfile” configuration, which, as shown in the “docker-compose.yaml” file above, is mounted directly from the host’s local directory into the Caddy container.
nano CaddyfileCode language: Bash (bash){
auto_https off
}
rss.tmplinux.com:80 {
reverse_proxy freshrss:80
}
memos.tmplinux.com:80 {
reverse_proxy memos:5230
}Code language: Nginx (nginx)Things are largely similar here, but there’s a significant variation: applications are identified by their container name. If you’re uncertain about the precise name of the container, it can be quickly located by running:
docker ps --format '{{.Names}}'Code language: Bash (bash)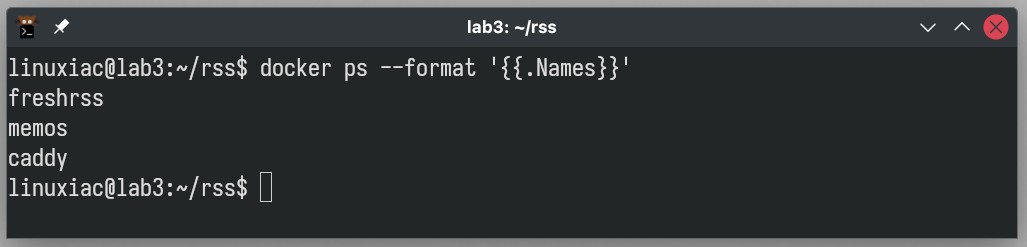
Additionally, the port specified in the example, such as “freshrss:80” or “memos:5230 “, is not the port the container maps to on the host. Instead, it is the port that the application inside the container listens to.
Linking Remaining Containers to Caddy’s Docker Network
Once again, Caddy must share the same network with the containers to which it redirects requests to be able to communicate with them. This requires modifying their deployments. For example, the adjustment made to our FreshRSS deployment involves adding a “reverse_proxy” network part, as shown below:
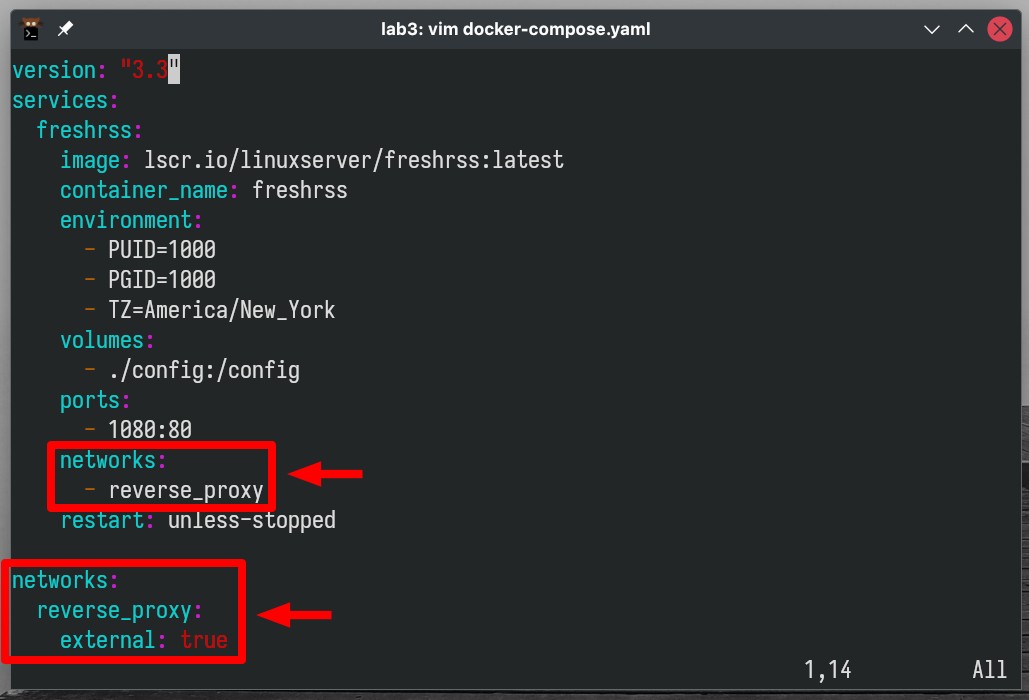
Ensure you restart your containers following the changes. Once that’s done, you’re ready to go ahead and launch the Caddy container:
docker-compose up -dCode language: Bash (bash)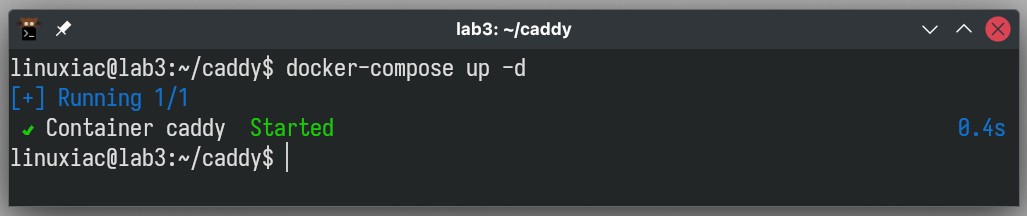
Direct your browser to the specified addresses and experience Caddy’s effortless reverse proxy capabilities in a containerized environment.
Obtaining an SSL certificate with Caddy
One of Caddy’s standout features is its ability to automatically obtain and renew SSL certificates, which significantly eases the setup and maintenance of secure websites.
Caddy uses the Automatic Certificate Management Environment (ACME) protocol to interact with free certificate authorities (CA) such as Let’s Encrypt. So, when you configure a site with Caddy, it automatically communicates with it to obtain an SSL certificate for your site, thus ensuring secure HTTPS connectivity.
However, Let’s Encrypt SSL/TLS certificates have a limited validity period of 90 days and need to be renewed periodically to maintain website security. The good news is that Caddy automates this renewal process.
It checks the expiry date of the certificates and automatically renews them before they expire, practically reducing the need for maintenance on your side to zero. Now, back to our case.
In the examples provided above, we explicitly disabled Caddy’s default behavior of automatically issuing SSL certificates by setting the “auto_https off” option in the Caddy global options block.
{
	auto_https off
}Code language: Nginx (nginx)
It’s important to note that removing the “auto_https off” line is enough for Caddy to start issuing SSL certificates automatically, as this is its default behavior.
However, we will add another option, “email,” to its place, followed by your email address. This approach is highly recommended when creating an ACME account with your CA to ensure smooth handling of certificate issues.
Additionally, update the “Caddyfile” to adjust the ports for Caddy (sub)domain services to target port 443. The final version should look like as follows:
{
        email your@email.address
}

rss.tmplinux.com:443 {
        reverse_proxy freshrss:80
}

memos.tmplinux.com:443 {
        reverse_proxy memos:5230
}Code language: Nginx (nginx)
Now, restart the Caddy service:
sudo systemctl restart caddyIf you’re using the Docker, stop and restart the Caddy container:
docker-compose down
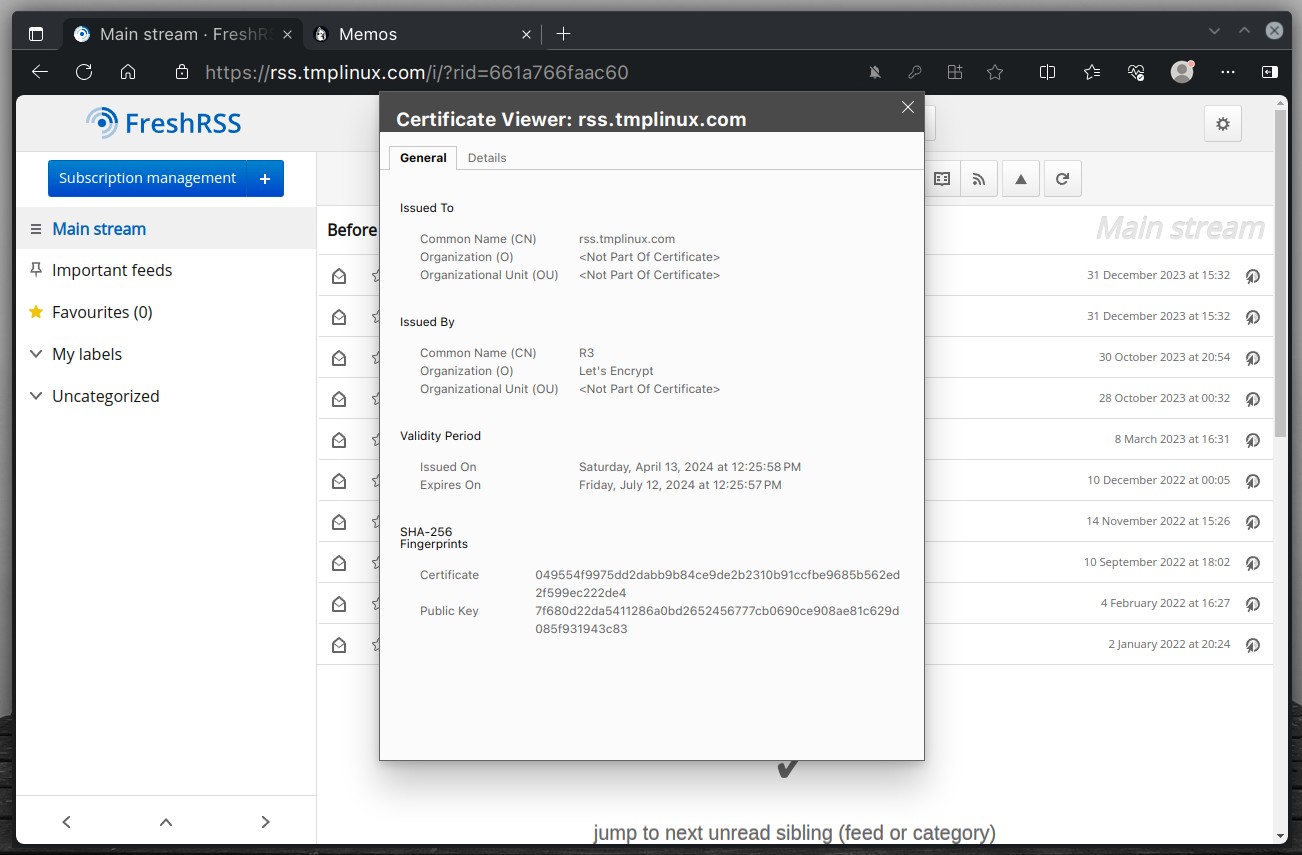
docker-compose up -dCode language: Bash (bash)When you open your applications in a web browser, you’ll notice that Caddy has automatically issued valid SSL certificates in the background. Addresses are now accessed via HTTPS, indicated by the padlock icon in the address bar.
Conclusion
Caddy is an exceptional choice for users seeking a reverse proxy solution that is easy to use, secure, and robust in features.
Its straightforward setup and the ability to automatically manage SSL certificates make it a preferable option over traditional web servers like Nginx and more complex alternatives like Traefik, especially for users valuing simplicity.
Setting up Caddy as a reverse proxy can significantly streamline managing and redirecting traffic to your services. Following the steps outlined in our guide, you can quickly configure Caddy to handle traffic redirection efficiently.
Finally, for more information, visit the project documentation or its website. Thank you for following along with our guide! Please let me know in the comments section below if you have any questions.


