
LosslessCut is a free and open-source GUI front-end tool that utilizes the ffmpeg CLI tool in the background to process all actions performed in the application. Although it doesn't cover all features, it aims to make your audio and video editing seamless.
At the given time, it allows you to trim your media files, split or merge, replace audio, add subtitles, convert media formats, create segments from keyframes, and much more.
It's a safe and cross-platform application, and in this article, we will discuss its features and how to install it on Ubuntu and other Linux distros.
Features of LosslessCut
While LosslessCut doesn't offer all the features, it offers enough to make your editing experience seamless. To quickly sneak a peek at its features, check out the section below.
- It's free and open-source compared to others, so you won't have to pay a penny, and it's a cross-platform application, allowing you to install it on Linux, Windows, and macOS systems.
- It allows you to trim the media file into segments, merge or rearrange the segment media files, rotate the video, replace or remove the media file, capture snapshots, convert any media file to supported formats, and much more.
- It supports formats for video, including MP4, MATROSKA, MOV, MPEGTS, OGV, and WEBM; for audio, FLAC, IPOD, MP3, OGA, OGG, OPUS, and WAV; and for subtitles, AS, SRT, and SUP.
- Keyboard shortcuts are also supported to improve and streamline your workflow if you are primarily a keyboard-dependent person.
How to Install LosslessCut on Ubuntu
There are two methods for installing LosslessCut on Ubuntu or any other Linux distro: either via Snap or Flatpak. If you are an Ubuntu user, Snap is preinstalled on your system, so you can proceed with Snap installation. Otherwise, if you prefer Flatpak, you can install it using the appropriate command.
- via Snap
- sudo snap install losslesscut
- via Flatpak
- flatpak install flathub no.mifi.losslesscut
Once the installation process is started, it will take some time to download and install the necessary packages, mostly depending on your internet speed and slightly on your system's performance. Once it's done, you can find and launch LosslessCut from the application menu.
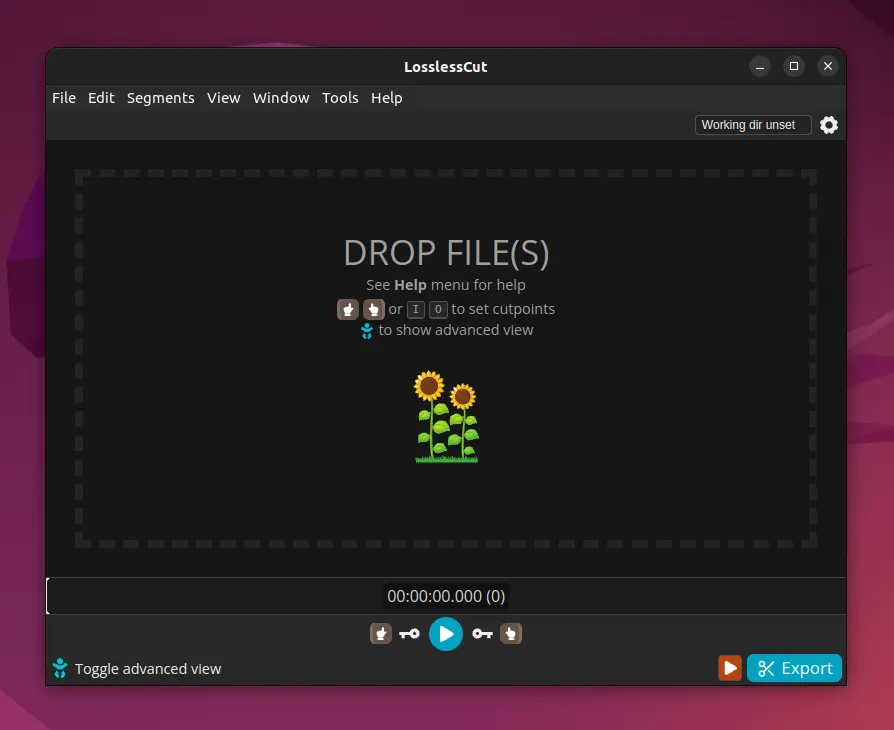
Here, you can take some time to explore. Begin by importing the media files with a simple double-click on the interface or by dragging and dropping them onto the application. Once you've done that, all the editing options become accessible, which are quite self-explanatory, so you shouldn't encounter any difficulty while using them.
How to Remove LosslessCut from Ubuntu
This article wouldn't be complete without showing you the removal steps. So, if you find this application to be the least useful, you can easily remove it from your system using one of the commands based on your chosen installation method.
- via Snap
- sudo snap remove losslesscut
- via Flatpak
- flatpak uninstall no.mifi.losslesscut
That's it; you have successfully removed it from your Linux system.


 on Linux")


