How To Remove The Background Of Your Photos On Android

Since the integration of cameras into mobile devices, it has become second nature to take photos with your phone instead of the standard dedicated camera. It's simply more convenient, especially for two reasons. One, you have your device with you practically 24/7, making capturing the moment as easy as grabbing a phone from your bag. Plus, built-in cameras on mobile devices are getting more and more advanced by the minute, so getting high-quality pictures with just your phone is already a given.
But on top of snapping great photos, mobile phones are also more than capable of editing them directly. No more transferring to your computer or buying an expensive desktop photo editor app. This can be a lifesaver, particularly for simple tasks like removing the background of your photos, say for an ID picture or marketing material. Sure, you can always remove the background of your photos on Windows, Mac, and any other desktop, but it's more practical to do that on the go. Many of the best Android phones can already do this, like the Samsung Galaxy S24 Ultra and the Google Pixel 8 Pro. But, if you have a phone that doesn't, or if you want to try different tools, here are six ways to erase your photos' background on Android.
Use Microsoft Designer

Microsoft Designer is a free graphic design app that helps you create AI-generated images and designs for your social media posts, birthday greetings, and other needs. While it's an AI image generator at its core, it also features other photo editing tools like an image background remover. Here's how to use this tool to erase the background on your photos on Android:
- Download the beta app of Microsoft Designer from the Google Play Store.
- Enter your Microsoft account email and password to sign in. If you don't have an account yet, press "Create one now" to do so.
- On the app's home page, scroll down to the Edit with AI section.
- Select Remove Background.
- Give Microsoft Designer access to your photos and media.
- Find the photo you want to remove the background of.
- Tap on Remove Background. The AI will then analyze your image and automatically erase what it thinks is the background.
- To add more flair to your background-less photo, select the pen icon on the bottom left. You can then add media, text, or graphics to your image by tapping on the corresponding options. You can also select "Ideas" to see graphic designs you might want to create with your photo. To download the edited picture, press the share icon in the upper right and select Save.
- If you're happy with the initial result and don't need to edit the image further, select Share > Save. You can also opt to share the photo via your favorite social media apps.
Use this Canva workaround
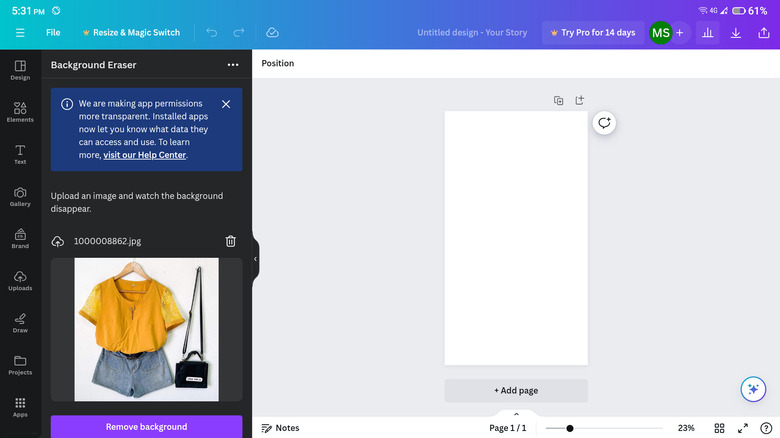
The BG Remover tool is one of everyone's well-loved features on Canva. Unfortunately, it's locked behind a subscription, so only Pro users get to enjoy it. If you prefer not to shell out $15 a month just to erase the background on your images, there's actually a hidden workaround you can do to get a free version of the background remover tool still inside Canva. Simply follow these steps:
- Download Canva from the Play Store.
- Open the app.
- Sign in with your Google, Facebook, Microsoft, Clever, or email account.
- Tap the hamburger icon on the upper left to open the menu.
- Go to Apps > Apps.
- Search for "background eraser."
- Tap the first result (one with the goat image).
- Press Use in new design.
- Select your desired size from the predefined options or enter a custom size.
- In the Background Eraser panel on the left, tap Choose file.
- Upload your image.
- Hit Remove background to proceed.
After the background is removed, your edited photo will automatically be pasted on the blank canvas. Adjust the size by dragging the corners and sides of the image. You can also play around with Canva's other handy editing tools, such as filters, effects, smart crop, and elements (e.g., stickers, photos, graphics).
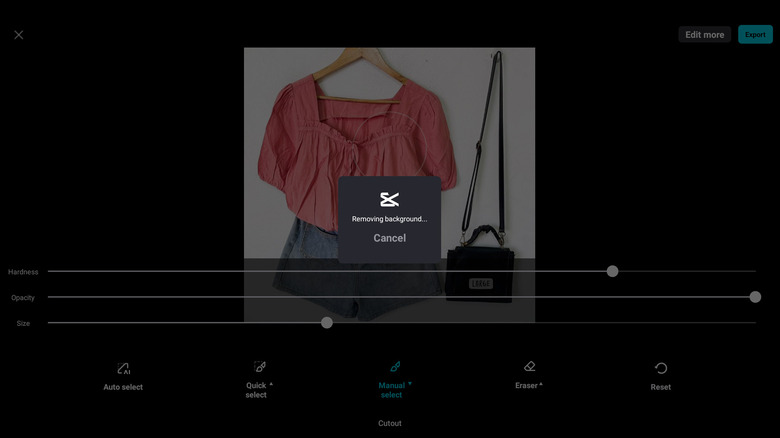
Adobe Creative Cloud can help
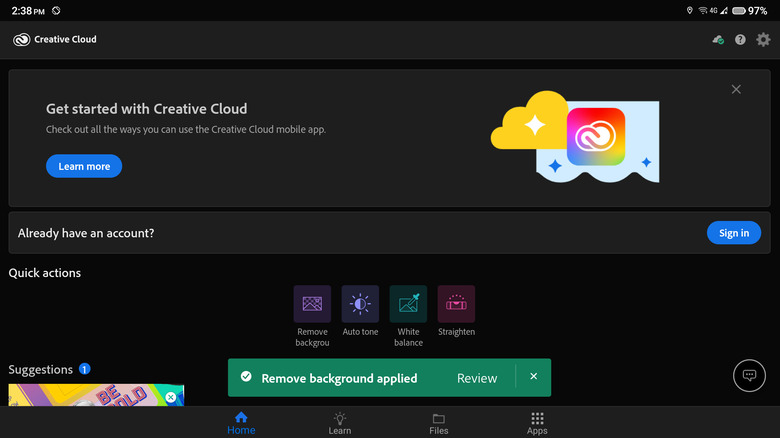
If you use Photoshop, Lightroom, or any other Adobe products, then you're probably already familiar with Creative Cloud. It's a one-stop shop for all things Adobe, providing you with easy access to browse and download apps, view your cloud files, and discover comprehensive tutorials on how to use Adobe's suite of tools. But on top of this, Creative Cloud comes complete with simple photo editing features too, one of which is a background remover. Follow these steps to erase your image's background on Creative Cloud:
- Get Adobe Creative Cloud from the Play Store.
- Launch the app.
- Under Quick actions on the Home tab, tap on Remove background.
- Choose the photo you need to edit from your local storage.
- Press Upload to proceed. Your image will be uploaded to Creative Cloud, and the background removal process will start automatically. While this is ongoing, you can see a progress indicator circling the cloud icon in the top-right corner of the screen.
- Once the editing is complete, press Review on the notification that pops up. This will open the edited image. If, however, you accidentally closed the notification, you can still access the edited photo by tapping on the cloud icon at the top.
- To save the photo to your local storage, simply hit Save.
CapCut is not just for videos
CapCut is everyone's go-to app for making and editing TikTok videos, YouTube reels, and other short-form video content, but it's also surprisingly useful for editing pictures. To use CapCut to remove the background of your photos, here's what you need to do:
- Install CapCut on your Android device if you haven't already.
- Open the app.
- Go to the Edit tab.
- Press Expand at the top of the screen to view more editing tools.
- Tap Remove background from the options.
- Pick the photo you want to edit.
- Hit Edit on the bottom right of the screen. CapCut will then highlight the objects it will retain with a green overlay.
- To get a better view of the selected objects, long-press the preview icon on the bottom-right of the image. This will show you the photo without the background.
- If CapCut missed marking some spots you prefer to include in the image, press Quick select at the bottom. Adjust the brush size and highlight the desired areas. Long-press the preview icon again to check whether you've selected all the intended areas.
- If CapCut selects some objects you don't want to be included in the final image, press Eraser. Change the brush size to get an accurate selection before clearing the unwanted areas. Long-press the preview icon to verify any areas you might have missed.
- (Optional) Tap Edit more to open CapCut's photo editor, where you can add a solid color background to your photo, apply stickers, and change the image size.
- Once you're happy with the output, hit Export at the top to save the image to your device.
Use PhotoRoom

With over 50 million downloads and two million reviews on the Play Store, PhotoRoom is slowly becoming one of the top AI-powered photo editors out there. Among its popular features is the background remover, which is notably easy to use and accessible for free even to non-PRO subscribers. Here's a quick step-by-step guide on how to use PhotoRoom to remove the background on your images on Android:
- Install PhotoRoom on your device.
- Launch PhotoRoom.
- On the welcome page, press Continue.
- Answer the onboarding questions.
- When you get to the "Start from a photo" screen, tap on Select a photo.
- Allow the necessary permissions.
- Choose an image from your storage or tap on Camera to snap a new photo instead. PhotoRoom will then erase its background instantly.
- Hit Start creating to proceed to the photo editor.
- Drag the image to your desired spot on the canvas.
- Zoom in or out of the image to resize it. Make sure not to overlap it with the PhotoRoom watermark to make it easier to remove later.
- (Optional) Edit the image as you please by inserting another photo, overlaying text, and adding a solid color or photo background.
- Once you're satisfied with the results, select Export > Save to Gallery.
- To remove the PhotoRoom watermark for free, open the image in Google Photos. Then, go to Edit > Crop and drag the corner until you get the watermark out of the frame. Finally, save the cropped photo. Alternatively, you can just subscribe to the PRO version of PhotoRoom to delete the watermark easily.
Try Remove Background by Pixlr

You probably use, or at the very least, heard about the free Android photo editor app Pixlr. It's a great tool for making collages, smoothing photos, and adding styles like borders and stickers. It also proves useful for removing the background of your images on Android, although its background remover feature actually comes in a separate app: Remove Background by Pixlr. Here's how to use it:
- Get Remove Background by Pixlr installed on your phone.
- Open the app.
- On the home screen, select Background.
- Press Allow Access to give the app permission to access your media.
- Pick the photo you need to erase the background of. You can batch edit up to ten photos.
- Press Select in the upper right corner to start the background removal process.
- If you want to edit the object selection:
- Tap on the photo.
- Press Edit Cutout.
- Change the size of your brush for more precision.
- Select Reveal to mark areas of the photos you want to keep in the final image.
- Tap Erase to delete parts of the initial selection. These areas will be removed along with the background.
- To review your edits, press the Preview button.
- Continue marking the areas until you're satisfied.
- Hit the checkmark to save your new selection.
- Press the back button to return to the editor screen.
- Crop the object to recenter or enlarge it. Go to the Crop tab and select your preferred cropped photo from the options.
- Save the image by pressing the download icon in the upper right corner and tapping Save to Photos. Alternatively, select Share to share the image to Facebook, Gmail, and your other apps.