5 Interesting Raspberry Pi Projects For Musicians
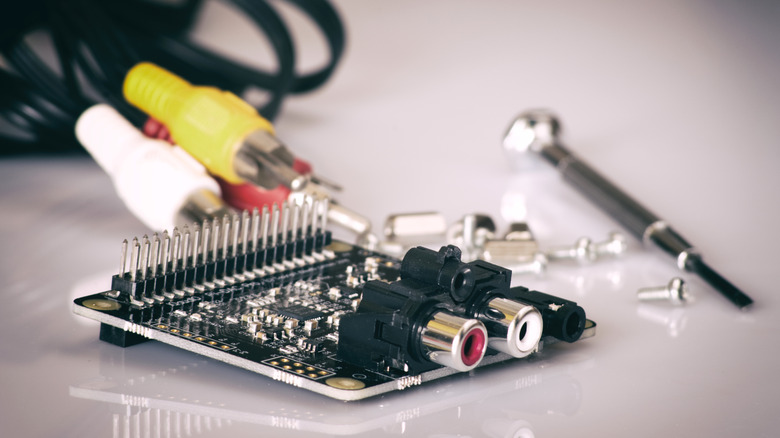
The Raspberry Pi is a diverse and versatile piece of kit. While some versions can be hard to get hold of, there are variants that fill all kinds of electronic niches. From relatively powerful units, to cheap options, from compact boards, to even smaller boards. As a result, they can be used on a variety of projects. Music, especially at the grassroots level, often comes with a "do it yourself" attitude where bands and solo artists counteract tight budgets with thrift and ingenuity. This makes a Pi and a musician a perfect pairing.
As with other Raspberry Pi projects, your imagination is the limit to some extent. So if there's a particular need you have, one of these little computers and some code may be the solution you're looking for. If you're not feeling as creative, but still want to tinker, then we've found five useful ways you can use a Pi to enhance your musical output. If you're a Pi novice, these projects are also a good place to start. They all come with easy-to-follow YouTube videos, and several of the skills you'll pick up on the way are transferrable to other Pi Projects. Many of the projects we've listed can also be expanded upon if you want to get creative, tweak something to your exact needs, or have a particular niche that needs filling.
A Pi-powered Loop station
If you're a solo artist and you're interested in recording or playing something somewhat complex, then a loop station is almost a necessity. It allows you to record sounds, such as a guitar riff, rhythm track, beat, or even a lyric, then play it on repeat at a set interval or on demand.
A basic loop station can cost you a few hundred dollars, while professional versions can be priced in the thousands. However, if you have a Raspberry Pi kicking around, some parts, and a little time, then you can always put your own together without too much trouble. As you can see from the video above, YouTuber ThePsychotenuse has managed to assemble a four-track loop station from some basic parts, and some software. As with all easy builds, the software component is available from Github and the loop station's creator has linked to it on his YouTube channel.
While the basic station is very functional and will likely meet your needs, ThePsychotenuse has further refined the design in some of his other videos. Like all Pi projects, it's also possible to tweak the design or software to your own specifications should you have the time and know-how. Further additions the YouTuber makes include a looper pedal, which makes using the device with a guitar, on a stage, or in various other situations a lot easier.
A Pi-powered theremin
The theremin is one of history's weirder instruments. Invented way back in 1920 by physicist Leon Theremin, it's often credited as being the first electric instrument. The theremin was designed to be easy-to-play and easy to learn. You don't actually have to touch it, but the position of your hands relative to its two antennae control the instrument's pitch and volume. The instrument was a catastrophic failure, and has spent most of its life in obscurity. Still, you may recognize its sound from things like the "Dr. Who" theme (though an oscillator was technically used for that one), Led Zeppelin's "Whole Lotta Love," and many of cult rock legend John Otway's live performances.
A true theremin puts a couple of magnetic fields out, and interference with these fields is what leads to the device's output. However, YouTuber Kevin McAleer has come up with a simpler solution involving a Raspberry Pi (any will do apparently) and a couple of proximity sensors which fill the role of the instrument's antennae. The build takes place over two videos, and includes software configuration. Unlike a traditional theremin, the output sound can also be changed on McAleer's version. So if you want it to sound like a Piano, you can totally make it do that. Playing it like a piano is a totally different matter, but that one is very much a you problem if you go down that route.
A Pi powered Synthesizer
If you believe that music peaked in the 1980s — then a synthesizer is likely high up on your instrument wishlist. You can go out and buy one, but why not just grab an old Pi from the drawer, some other bits and bobs, then slap one together yourself? After all, DIY was the ethos of the punk era, and a DIY synth seems ideal for any post-punk project you're involved in.
Turning a Pi into a synthesizer can be quite simple. If you have a few MIDI controllers, a keyboard, and some knobs it can just require a little software tweaking — as YouTuber Floyd Steinberg demonstrates above. As it's a Pi and the potential for messing around with it is a bit limitless, you can also use a Pi to create a MIDI controller if needs be. This can all be as complex, or simple, as you want — and you can also start basic while treating it as an ongoing and ever expanding project. Just make sure you set aside a little time to actually make some music on the thing.
A Pi-Powered Drum Machine
Good drummers can be hard to find, so bands and solo artists can fill the gap with a "drum machine." The electronic device is capable of pumping out a variety of beats you can time the rest of your music around. This can be a temporary measure, until a talented percussionist appears in your life, or something more permanent if you really insist on being a one-man show and hitting skins is not for you.
The Raspberry Pi can, quite easily, be turned into a handy drum machine. The most labor-intensive part of the process may actually be 3D-printing a nice case to keep it in. The build that YouTuber Wivry / Marek Vavřínek demonstrates is heavily software-based and produces solid results — with the music for the demonstration video coming from the drum machine Vavřínek builds during it. As with many Pi projects, the bulk of the software and plugins needed are already out there, it just all needs putting together.
A Pi-Powered Audio Mixer
With some styles of music, post-production is just as important as laying down the tracks themselves. Although you may see it as a cheap and not very powerful "computer," some versions of the Raspberry Pi actually pack quite a punch. With the right software, you can easily turn one into an audio-mixer and tweak away to your heart's content.
There are a variety of options when it comes to mixing on the Pi, but one good example involves three plugins: Reaper 6.51, SWS Extensions, ReaPack and Tukan Studios. Each of these plugins includes a bit of a learning curve, so while setup may be a bit easier than it is with some of the other projects we've discussed here — actually becoming effective with the software is where the hard work is. However, if you get good then, as YouTuber Adam Steel demonstrates, the end results can be amazing. So if you're an independent musician, you don't need to drop a fortune on high-end computers and software to produce studio-quality tunes, you just need a Raspberry Pi 400 and a willingness to learn.