Lightroom For Beginners: 3 “Before & After” View Tips
Here’s 3 really handy tips for beginner’s for seeing before and afters while you’re working in Lightroom. Here goes:

Seeing a before/after of just the single adjustment you’re currently making
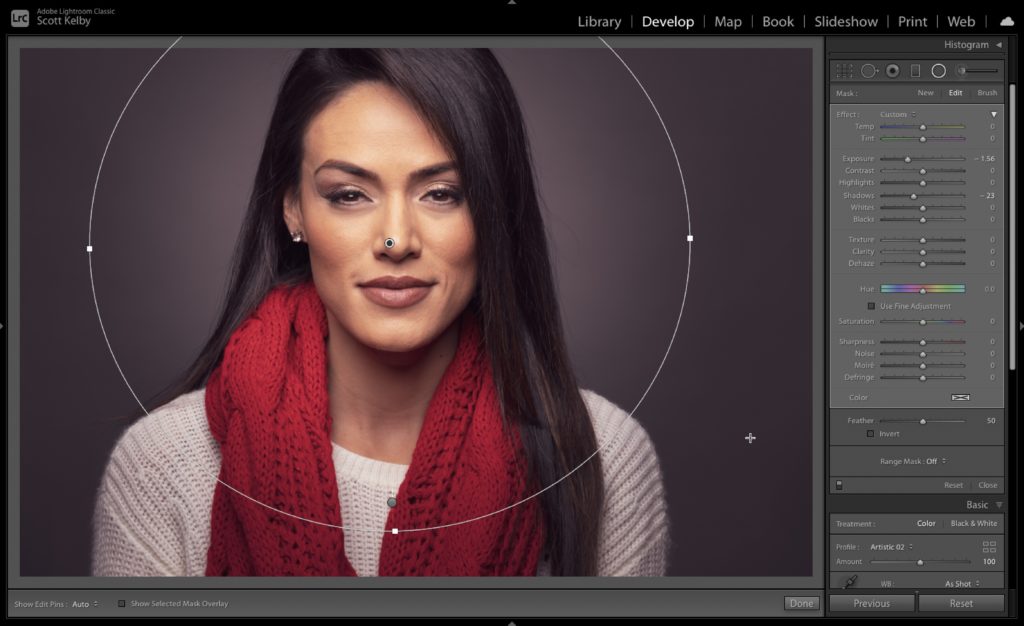
Here I’m using the Radial Tool to darken the exposure outside the oval to make it look like I lit the background behind her (I did a tutorial on how to do this just in case you want to try it yourself. Here’s the link). Anyway, I’m working on the Radial Tool panel to create this darkening effect.
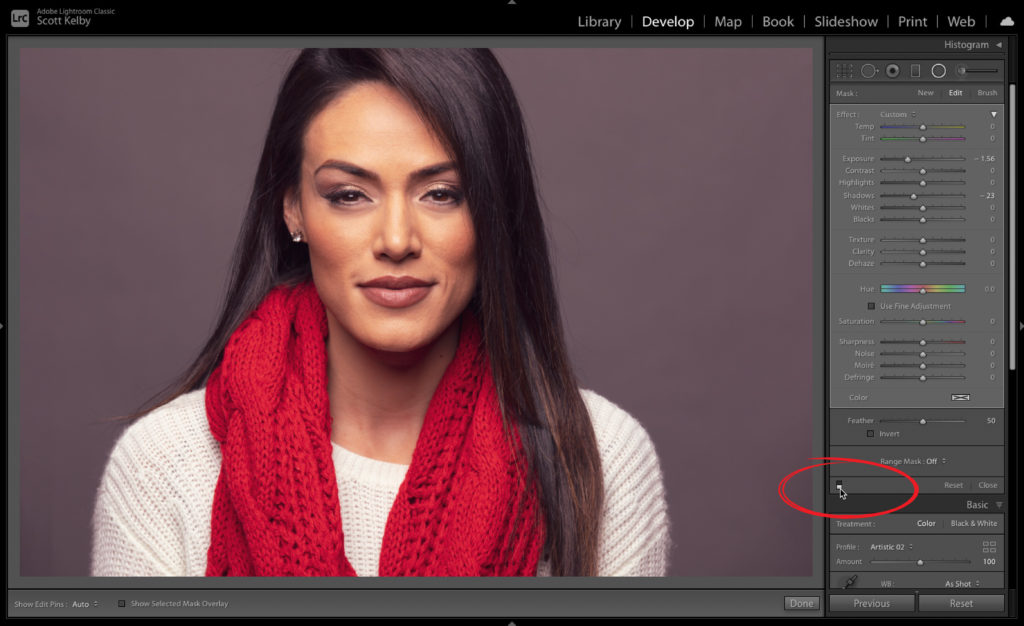
To see the image how it looked before I added the Radial Tool effect, click the little toggle switch at the bottom left side of the panel (it’s circled in red above). Now you’re seeing the image without the changes you just made in the Radial panel (that toggle turns off any changes you made in that panel).
NOTE: All the panels in Lightroom Classic, except for the Basic panel, have this before/after toggle switch to turn off the edits made in that particular panel. If you’re using Lightroom ‘cloud’ version, none of the panels turn on/off this way, but there are a few features, like the Tone Curve, Color Mixer, and the Split Toning panel, that have an on/off toggle switch so you can see a preview of just its edits.

Seeing a Before/After of all your Adjustments no matter where you made them

To see your image as it looked before you made any changes, tap the \ (backsplash) key on your keyboard (here’s the image without any changes. BTW: The change I had made was to apply a Creative Profile (Here’s a great video from Terry White on how to use these Creative Profiles).

Seeing a side-by-side Before/After
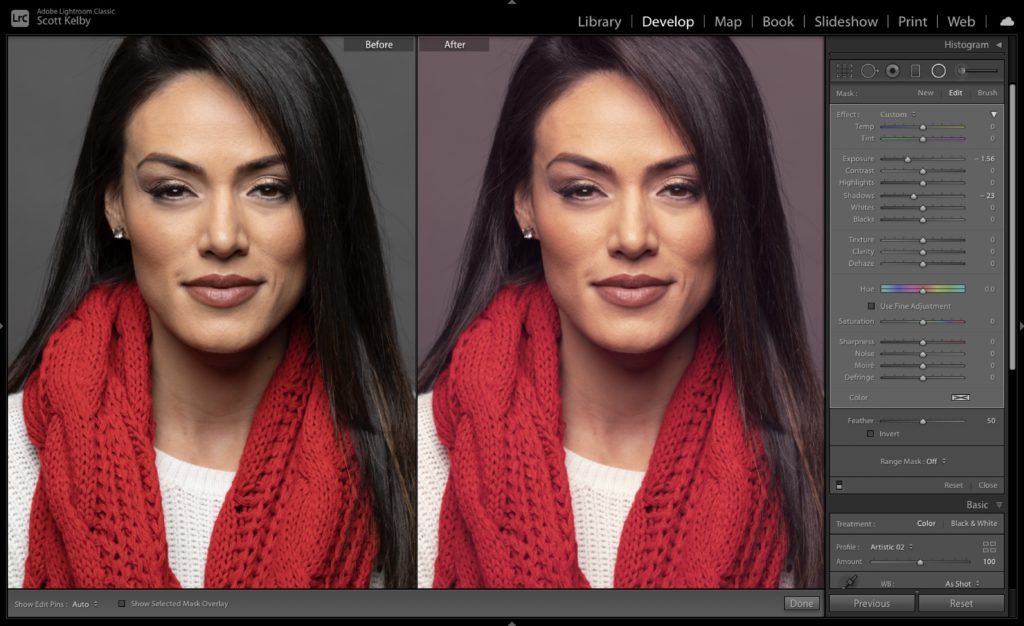
To get this side-by-side before/after view, press the letter “y” on your keyboard. To return to regular view, press “y” again.
NOTE: If you’re using Lightroom (cloud) you won’t alway see a toggle on/off switch like you do for
Hope you found those helpful! 🙂
-Scott