Life is busy and there's always something to keep track of. Try making this DIY dry erase calendar to add some order to your days. It's great for laying out craft projects, home schooling plans, toddler activities and much more. Just grab a frame, some paint swatches or post it notes for a pop of color and a dry erase marker, and let's get to planning.
Video of the Day
Things You'll Need
Picture frame
Dry erase marker and eraser
Paint swatches or post-it notes in the color(s) of your choice
Scissors or cutting board
Tape or glue dots

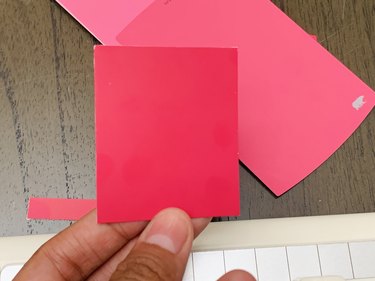
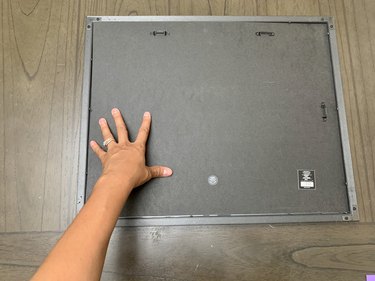
Step 1: Prep Frame
Remove the back from your frame and flip over the existing print. This will give you a clean white slate to create your calendar on. Another option would be to cut a white poster board to the size of your frame and apply it to the backing.
Video of the Day


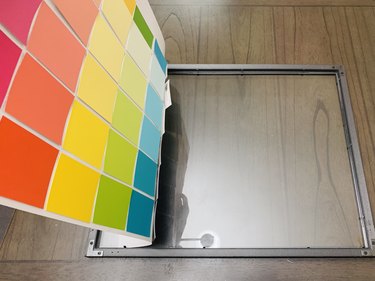
Step 2: Sort Color Swatches
Select the color scheme for your calendar and sort the swatches before you begin. I went from light to dark tones for the calendar days. For the names of the days of the week, I selected a middle tone for each color so you could see the contrast of each row.
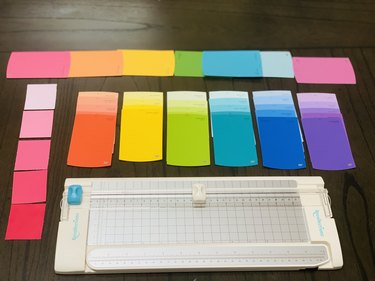
Step 3: Cut Pieces
In this tutorial, I'll be creating a monthly calendar for all seven days of the week. The measurements all depend on the size of your frame, and the frame I'm using is 20" x 16".
Start with a few test swatches. I took several swatches I was not going to use and cut them based on the measurements I took for my frame to make sure they fit properly, leaving a bit of space between each swatch. Then I cut the rest of the pieces.
I cut the weekday boxes about 1 inch wider than the weekend boxes, however they are all the same height.
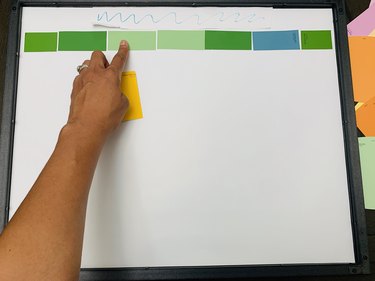
Step 4: Assemble the Swatches
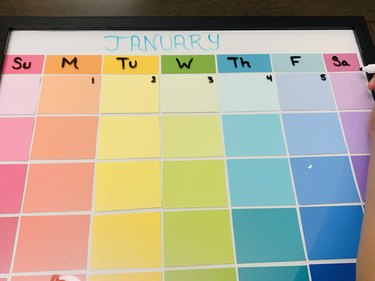
First, leave about one inch of space at the top to write the name of the month. Then create a horizontal row with seven 1-inch tall rectangular color swatches to write the names of the days of the week. Next, fill in the rest of the calendar with 5 rows of the taller color swatches.
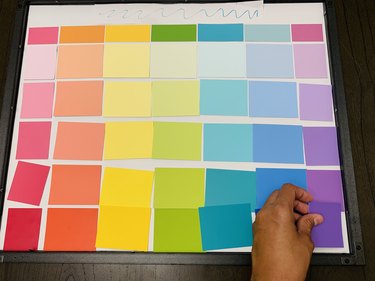
Now that all the pieces are on, align them and secure them in place with tape or glue dots.

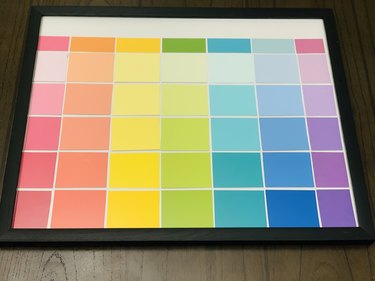
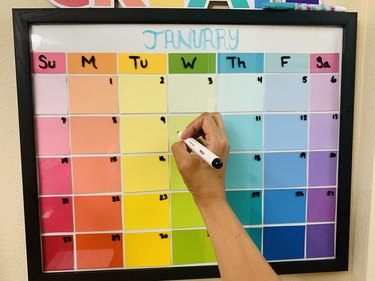
Step 5: Insert Into Frame
Turn over the completed calendar and insert it into the frame. Then secure it in place with the backing.
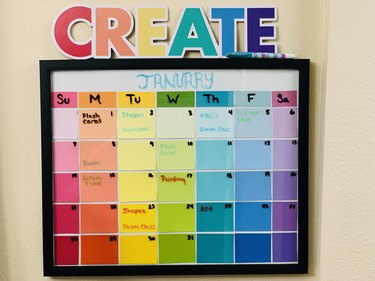
Using a dry erase marker, write in your month, days of the week and date numbers.
Plan away!