Autumn is the favorite season for many people, and it's no wonder with the changing of the leaves and homey accoutrements. There's just something about a fall scene that makes you feel all happy inside. But you know what's even more delightful than an autumn diorama? A miniature one. It's so fun to create the tiny fall elements in this autumn-themed terrarium. It even has room inside for a few live tillandsia air plants for some low-maintenance greenery. And good news — no raking required.
Video of the Day
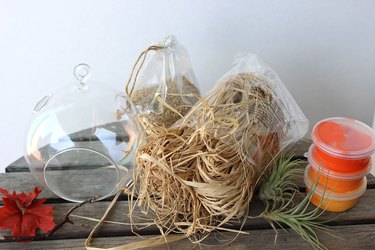
Things You'll Need
Glass globe terrarium
Cardboard
Scissors
Craft glue
Raffia ribbon
Air dry modeling clay
Twigs
Artificial fall leaves
Hot glue
Tillandsia air plants
Sand
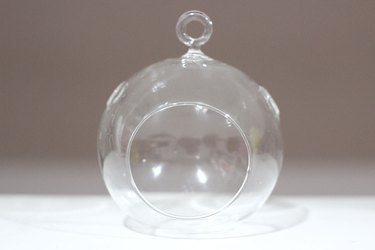
Step 1: Choose a Container
There are many types of containers for terrariums. You can use jars, vases or hanging clear glass spheres. These spheres are ideal because they have a large opening in the front that makes arranging the elements inside much easier. There are also two additional holes on the top to give your air plants more ventilation. I chose a sphere with a height of about 4 1/2 inches.
Video of the Day
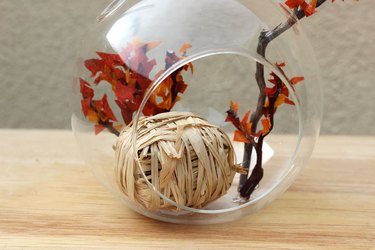
Step 2: Make the Bales of Hay
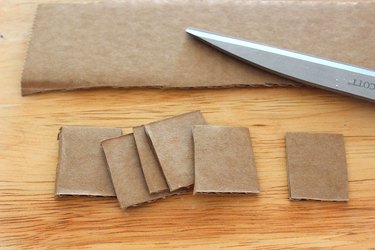
Bales of hay give this autumn scene a down home feel, and making them is a breeze. Start by cutting some pieces of cardboard that are about 1 inch by 1 1/2 inch in size. Depending on the size of your container, you'll need between 6 to 8 of them.
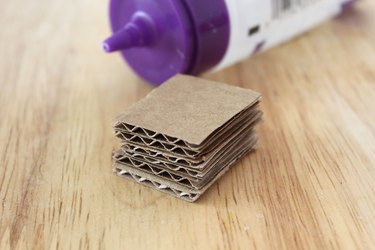
Stack the pieces together with a dab of glue between each one to create a rectangular block. This will be the foundation of the bale of hay.
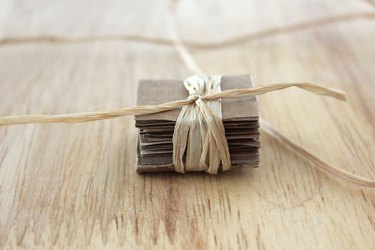
Wrap raffia ribbon around the cardboard block, tying the ends to secure them.
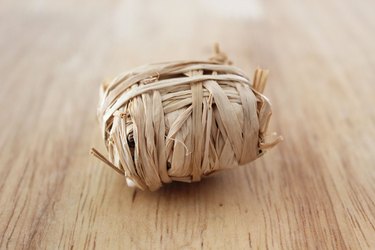
Continue wrapping raffia around the block until all the sides are covered. Snip off any loose pieces of raffia.
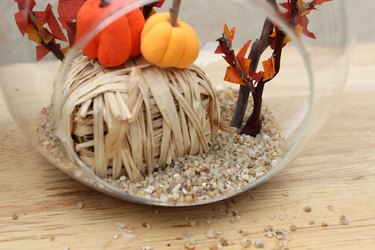
Step 3: Make the Pumpkins
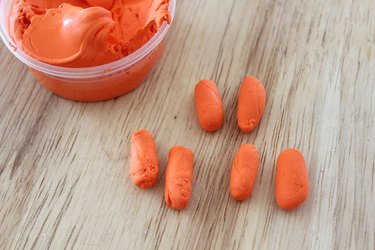
Modeling clay is so easy to use, and it air dries in 24 hours. With some orange clay, form six small tubes of similar size, about 1/2 to 3/4 inch each.
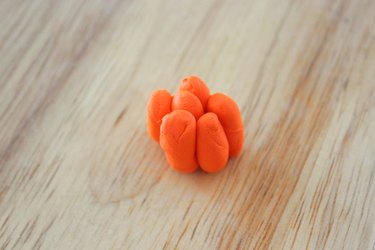
Gather the 6 tubes together vertically, and they will immediately stick to each other but still maintain their separate shapes, forming the distinct ridges of the pumpkin.
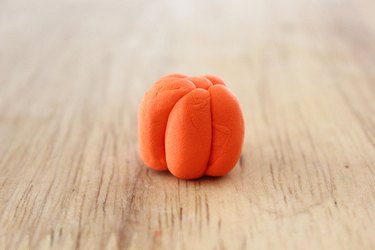
Round out the top of the pumpkin, and press the bottom against your work surface to flatten it a little.
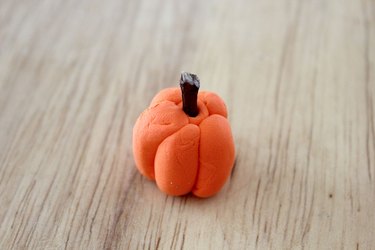
Cut a small piece of a twig and insert it into the center of the pumpkin. Let it dry for 24 hours. Make several pumpkins of various colors and sizes for your terrarium.
Step 4: Make the Trees
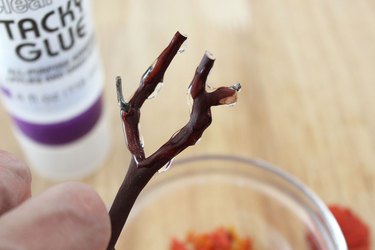
Cut a twig that has at least two offshoots.

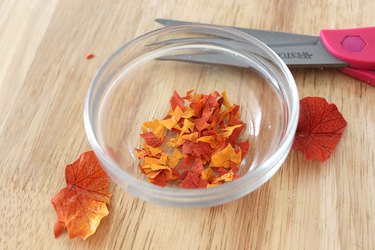
Take some artificial fall leaves and cut them up into small random shapes, almost like confetti. You can use real leaves, but they would need to be pressed and dried first, or they will shrivel.
Apply some glue to the offshoots of the twig.
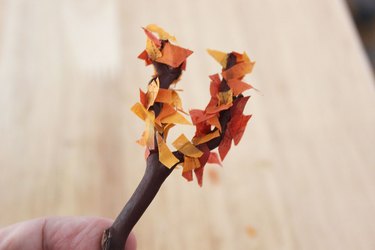
Sprinkle the miniature leaves over the glued areas of the twig, and you have a tree with fall colors. Depending on the size of your container, you'll want 2 to 4 trees of various heights.
Step 5: Hydrate Your Air Plants
You can purchase tillandsia at most nurseries and home improvement stores, as they are very popular right now. When you get them home, you'll want to soak them in water for at least an hour. Then place them on a paper towel for an hour to absorb any excess moisture. I chose a tall plant for the back of the terrarium and a shorter one for the front.

Step 6: Assemble the Terrarium
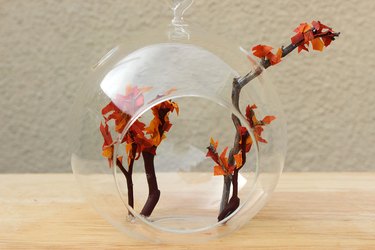
Start with the elements that will go in the back — in this case, the trees. Apply a large dab of hot glue to the ends of the trees and adhere them to the back of the terrarium. Hold them steady as the glue dries so they remain upright. I like the idea of including one very tall tree that extends past one of the top openings in the sphere. And be sure to leave an empty space in the back for an air plant.
Hot glue the bale of hay in front of the trees.
Glue some pumpkins onto the hay. Leave a few pumpkins as finishing touches for later.

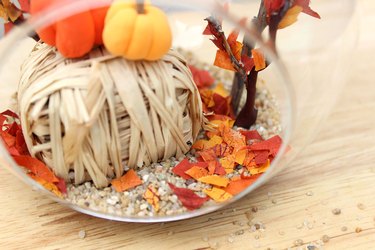
Spoon some sand into the container to cover the bottom. The sand covers up any hot glue residue while providing a dry foundation for the air plants. Look for larger, gravel-like sand rather than fine beach sand.
Sprinkle more miniature leaves on top of the sand to give the terrarium added autumn colors.
Position the taller tillandsia plant in the back where you left room for it, and the shorter one in the front next to the bale of hay.
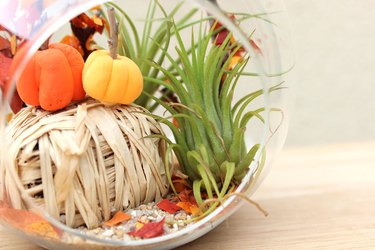
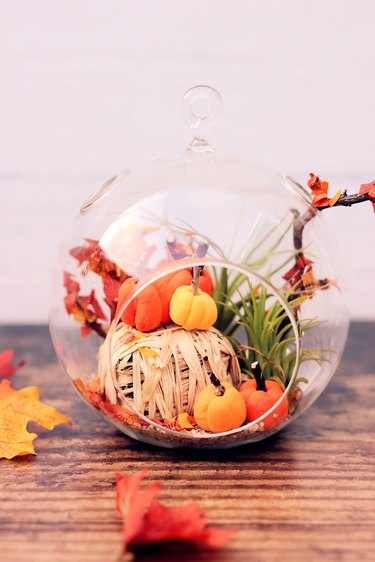
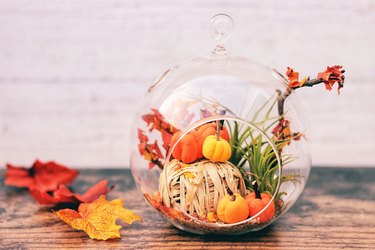
Place more pumpkins in the front to complete your diorama.
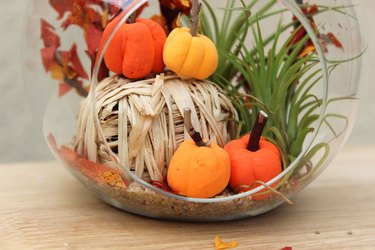
About once a week, remove the air plants to rehydrate them. And once a day, gaze into the terrarium to be transported to your own private pumpkin patch.