


The ASPX View Engine is the legacy view engine built into ASP.NET MVC from its initial days. The Razor View Engine is more advanced and is now the default view engine of ASP.NET Core MVC. This article compares these two view engines in brief and then discusses how you can work with the Razor View Engine in ASP.NET Core MVC.
To work with the code examples provided in this article, you should have Visual Studio 2019 installed in your system. If you don’t already have a copy, you can download Visual Studio 2019 here.
Create an ASP.NET Core MVC project in Visual Studio
First off, let’s create an ASP.NET Core project in Visual Studio 2019. Following these steps will create a new ASP.NET Core MVC 5 project in Visual Studio 2019.
- Launch the Visual Studio IDE.
- Click on “Create new project.”
- In the “Create new project” window, select “ASP.NET Core Web App (Model-View-Controller)” from the list of templates displayed.
- Click Next.
- In the “Configure your new project” window, specify the name and location for the new project.
- Optionally check the “Place solution and project in the same directory” check box, depending on your preferences.
- Click Next.
- In the “Additional Information” window shown next, select .NET 5.0 as the target framework from the drop-down list at the top. Leave the “Authentication Type” as “None” (default).
- Ensure that the check boxes “Enable Docker,” “Configure for HTTPS,” and “Enable Razor runtime compilation” are unchecked as we won’t be using any of those features here.
- Click Create.
A new ASP.NET Core MVC 5 project will be created. We’ll use this project to work with Razor views in the subsequent sections of this article.
What is a view engine?
A view engine translates a server-side template into HTML markup and renders it in the web browser when triggered by a controller’s action method. ASP.NET MVC initially shipped with the ASPX View Engine, but the Razor View Engine was added in later versions. The Razor View Engine is now the default view engine for ASP.NET Core MVC applications.
While the ASPX View Engine is available as part of the System.Web.Mvc.WebFormViewEngine namespace, the Razor View Engine is available in the Microsoft.AspNetCore.Mvc.Razor namespace.
How does a view engine work?
Each view engine comprises three components: the ViewEngine class, the view class, and the template parser. The ViewEngine class extends the IViewEngine interface and implements its members. This class is responsible for locating view templates. The view class extends the IView interface and implements its members. This class is responsible for combining the template with data and then converting it to HTML markup to be rendered in the web browser. The template parser is a parsing engine that compiles the view into executable code.
You can also create your own custom view engine in ASP.NET Core. To do this, you create a class that extends the IView and the IViewEngine interfaces pertaining to the Microsoft.AspNetCore.Mvc.ViewEngines namespace. You then implement the two methods of the IViewEngine interface, namely GetView and FindView. You also implement the RenderAsync method of the IView interface. This method is responsible for rendering the view engine at runtime.
Create a new Razor view in ASP.NET Core MVC
In the new ASP.NET Core MVC application we created above, let's create a simple view. To do this, edit the HomeController.cs file and add the following code:
public IActionResult Welcome(){
    ViewData["Message"] = "Hello World!";
    return View();
}
Next, create a new view file named Welcome.cshtml in the Views/Home folder and enter the following code:
@ViewData["Message"]
Remove the default view engines in ASP.NET Core MVC
When you create a custom view engine, you might often want to remove the default view engines. You can remove both the Razor View Engine and the ASPX View Engine and then add your own custom view engine as shown in the code snippet given below.
services.AddMvc()
            .AddViewOptions(options =>
            {
                options.ViewEngines.Clear();
                options.ViewEngines.Add(typeof(MyCustomViewEngine));
            });
Use an if construct in Razor View Engine
In this section we’ll examine how we can program our view using the Razor syntax. Let’s first use some common constructs such as the if, if else, and switch case statements.
The following code snippet illustrates how you can use an if statement in Razor.
    @{var x = 10;}
    <html>
       <body>
          @if (x > 5)
           {
              <p>The value of x is greater than 5.</p>
           }
       </body>
    </html>
The next code snippet shows how you can use an if else statement in Razor.
    @{var x = 2;}
    <html>
       <body>
          @if (x > 5)
           {
              <p>The value of x is greater than 5.</p>
           }
           else
           {
              <p>The value of x is less than 5.</p>
           }
       </body>
    </html>
Use a switch case statement in Razor View Engine
Here is how you can use a switch case statement in Razor.
@{
var weekday=DateTime.Now.DayOfWeek.ToString();
var text=string.Empty;
}
<html>
<body>
@switch(weekday)
{
case "Monday":
text="This is the first working day of the week.";
break;
case "Friday":
text="This is the last working day of the week";
break;
default:
text="Today is: " + weekday;
break;
}
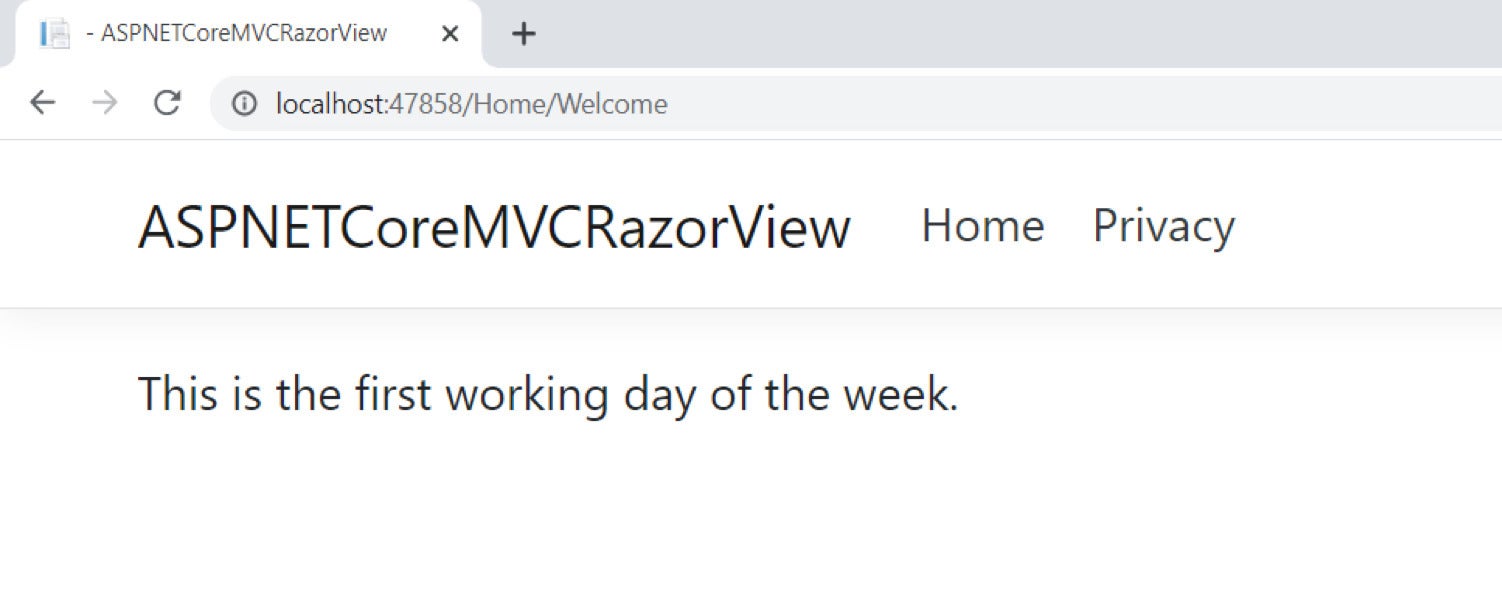
<p>@text</p>
</body>
</html>If the day is a Monday, when you run the application you would see the following output in your web browser.
 IDG
IDG
Figure 1. Razor views in action!
Use loops in Razor View Engine
You can use loops in your Razor views to perform repetitive actions. The following code snippet illustrates how you can work with loops in Razor.
<html>
<body>
     <p>Displaying numbers 1 to 10</p>
          @for(var i = 1; i <= 10; i++)
           {
              <p>@i</p>
           }
</body>
</html>
You can take advantage of foreach loops when working with collections. The following code snippet illustrates how you can display all keys pertaining to the Request.Headers collection.
<html>
<body>
<ul>
@foreach (var k in this.Context.Request.Headers)
    {
        <li>@k.Key</li>
    }
</ul>
</body>
</html>
If you want to use a model in the view, you should create a model class as shown in the code snippet given below.
public class Author
    {
        public int Id { get; set; }
        public string FirstName { get; set; }
        public string LastName { get; set; }
    }
To make things simple, create the model class in the Models solution folder. You can use this model in the view as illustrated in the code snippet given here:
    @model Author
    <ul>
        <li>Author Id: @Model.Id</li>
        <li>First Name: @Model.FirstName</li>
        <li>LastName: @Model.LastName</li>
    </ul>
The Razor View Engine is more advanced than its earlier counterpart, providing a friendlier syntax for generating HTML code from templates. Note that Razor is a general purpose templating engine — you can use it anywhere to render HTML.
You can also work with third party view engines, such as Spark, SharpDOM, and NDjango, in ASP.NET Core MVC. I’ll demonstrate how to create a custom view engine in ASP.NET Core MVC in a later post here.